Objective
This article explains how to monitor the Sun StorageTek disk arrays with Hardware Sentry KM for PATROL and BMC Performance Manager Express for Hardware. Monitoring hardware requires:
- Installing an SMI-S Provider
- Adding a SAN
- Enabling monitoring.
Installing the SMI-S Provider
Depending on the version of your Sun Storage TEK Disk Arrays, you will have to either install Hitachi Device Manager or the LSI Provider. While the former will be installed to monitor Sun StorageTek 99x Series, the latter will be used for Sun StorageTek 2K, 6K and FLX Series.
Installing Hitachi Device Manager
Please refer to the article Monitoring Hitachi Disk Arrays to know how to install Hitachi Device Manager to monitor Sun StorageTek 99xx Series.
Installing the LSI Provider
The LSI Provider is needed to manage StorageTek 2K, 6K and FLX Series. It can be downloaded from the LSI Web site.
Under Windows
- Double-click the LSI Provider installer to launch the Installation wizard:
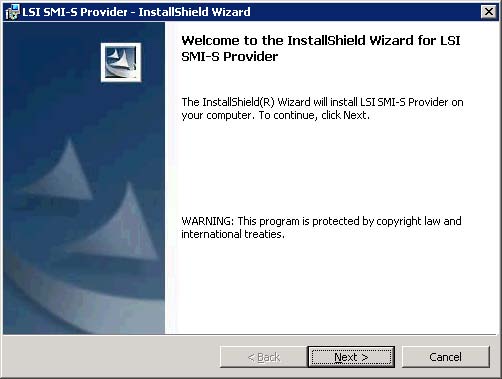
- Click Next.
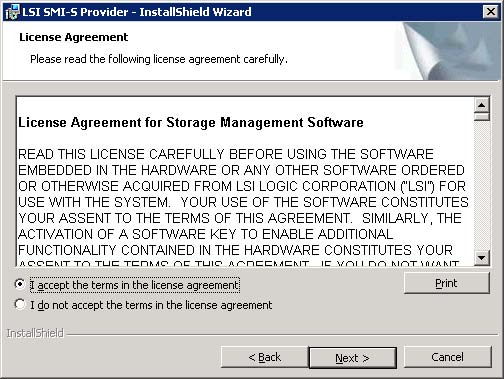
- Accept the License Agreement and click Next
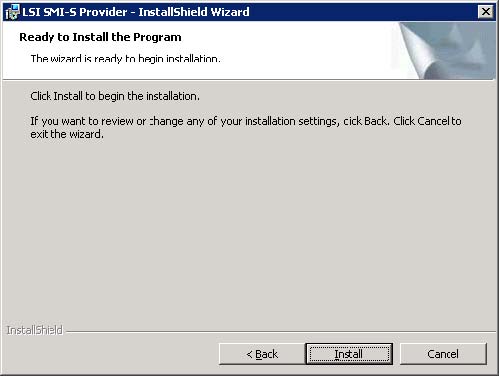
- Click Install. The installation opens a text file in Notepad
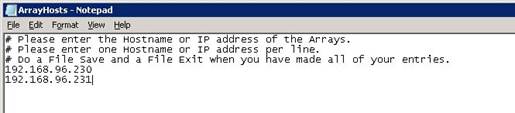
- Enter the hostname or IP addresses of the Arrays.
- Save and close Notepad.
- Click Finish.
Under Linux
- Untar the lsi_array_xx.xx.xx.xx.tar file.

- Execute rpm -i lsi_array_xx.xx.xx.xx.rpm.

Adding a SAN
Under Windows
- Run the ArrayManagementUtility.exe that came with the SMI-S installation file.
- Use the IP where the SMI-S provider is installed.
- Use the defaults for the CIMOM Username, Password, and Port.
- Type 1 to Add Array.
- Type the array IP or DNS name.
- Type n to not set the storage array password.
Under Linux
- Edit the /opt/lsi/sbma/data/ArrayHosts.txt file.
- Enter the IP address of each array, one per line.
- Stop the cimserver with /opt/lsi/pegasus/bin/cimserver-s
- Start the cimserver with /opt/lsi/pegasus/bin/cimserver start
Enabling Monitoring
With Hardware Sentry KM for PATROL
- Right-click the local host's Hardware icon › KM Commands › Add a Remote System or an External Device...
- Read the license agreement, accept it and click Next to continue.
- Identify the system you want to monitor remotely and click Next
- Enter the hostname of the server where the SMI-S provider is installed
- Leave the IP address or fully qualified name field blank if you specified the hostname
- Select the Storage (Array, switch, Library) platform from the drop-down list to specify the system type.
Note: If the PATROL Agent and Hardware Sentry KM run on the same system where the Hitachi Device Manager has been installed, specify "localhost" for the IP address or hostname of the device.
- Select the SMI-S Compliant Disk Arrays connector for Hardware Sentry to use to monitor the remote system, and click Next.
- Enter the WBEM credentials and click Next
- Check the protocol (http (not encrypted) / https (encrypted)) and port (5988 / 5989).
- Enter a Login and a Password. For monitoring purpose, the default credentials (admin/admin) will be used
- Hardware Sentry needs to perform a full discovery to add the remote device. Click Finish to launch the discovery.
- A new Hardware icon will automatically be added in the console.
With BMC Performance Manager Express for Hardware
- Add a new element of type Storage to Portal
- Enter the hostname of the server on which the SMI-S provider is installed
- Configure the monitoring for platform type storage and select Hardware(Storage) application class
- Provide valid Telnet or SSH credentials and complete the process.
Related Topics
- Monitoring 3PAR Storage Arrays with Hardware Sentry
- EMC SMI-S Agent (ECOM) Connector Stopped Working After Migrating to Dell Solutions Enabler v10
- EMC VNX Monitoring with Hardware Sentry Fails Because of Special Characters in the Password
- Monitoring Dell EMC Symmetrix VMAX Disk Arrays
- Monitoring Sun Fire F12K, F15K, E20K and E25K Servers with Hardware Sentry