Introduction
You can use the following products to monitor your Dell EMC Symmetrix VMAX arrays:
- the Storage Analyzer KM, which relies either on the Dell EMC Unisphere REST API or the SMI-S provider to collect capacity and performance metrics
- the Hardware Sentry KM, which relies on the SMI-S provider to collect hardware metrics
- (Legacy Product) the EMC Disk Arrays KM, which relies on the SMI-S provider to collect capacity and performance metrics.
Prerequisites
SMI-S Provider
In general, the Dell EMC Symmetrix VMAX arrays come along with an embedded service processor in which the SMI-S agent is installed by default. However, the SMI-S Provider can also be installed on a different server which is physically connected to the Dell EMC Symmetrix VMAX arrays through an HBA.
Recommendations and Requirements
Sentry Software strongly recommends using the management console (service processor) for monitoring purpose. This method is much faster and reliable when compared to the utilization of a different server as SMI-S proxy. The management console is generally a Windows workstation in which the SMI-S Provider is pre-installed. When this console is used for monitoring the Dell EMC Symmetrix VMAX array, it does not need to be added manually to the SMI-S provider as it is automatically detected. You can use the default account credentials or have a separate admin account created for monitoring purposes. Please refer to the “Adding a user” section for details.
The Symmetrix-specific requirements are:
- Enginuity operating environment: Version 5876 or higher
- EMC Solutions Enabler V9.0.00 or later
Sentry Software recommends using the latest available version of the EMC Solutions Enabler. If you want to use older versions, first check the Dell EMC SMI-S Provider compatibility matrix for support life cycle and compatibility.
Setting-up the SMI-S Provider on a Server
Installing EMC SMI-S Provider Version 9.0 and later
The SMI-S Provider kit includes the supported version of Solutions Enabler and can be downloaded from Dell EMC online support Website (Registration required). EMC SMI-S Provider can be installed on Windows or Linux.
Installing the EMC SMI-S Provider on Windows
- Download the installation package:
- Open a browser and visit the Dell EMC online support .
- Download the installation package for your platform and extract the content to a temporary directory.
- Save all files and exit all Windows applications.
-
Run the following command to change directory to the location of the Solutions Enabler kit by entering the following:
cd \tmp_directory -
Run the se9000-WINDOWS-x64.exe file.
-
Follow the step-by-step instructions provided by the installation wizard.
-
Click Finish to complete the setup.
Check if the provider service ‘ECOM’ is running.
Installing EMC SMI-S Provider on Linux
-
Download the installation package:
- Log onto the host system as root.
- Open a browser and visit the Dell EMC online support website.
- Download the installation package for your platform and extract the content to a temporary directory.
-
Change the directory to the location of the EMC SMI-S Provider kit and run the install script by using the following command:
cd /‹location of extracted files or CD>/UNIX se9000_install.sh -install -
For each prompt, provide the required information.
-
Run the following command to check the installation:
./se9000_install.sh -check
Adding User to the EMC Solutions Enabler
Authentication is required to query the EMC CIM Server. An initial setup is required on the EMC CIM Server to create a CIM user.
To add a new user:
-
Go to the URL
‹_ipaddress_>:5989/ecomconfig -
Log in. The default username and password to access the EMC Solutions Enabler with the SMI-S Web interface or SMI-S proxy is:
- Username:
admin - Password:
#1Password
- Username:
-
Click Add User and create a user with the role Administrator. This newly created username can now be used to access the Array Provider.
Configuring the Storage Analyzer KM
The Storage Analyzer KM can either be configured in Monitoring Studio X or in TrueSight.
In Monitoring Studio X
To monitor Dell EMC Symmetrix VMAX disk arrays in Monitoring Studio X:
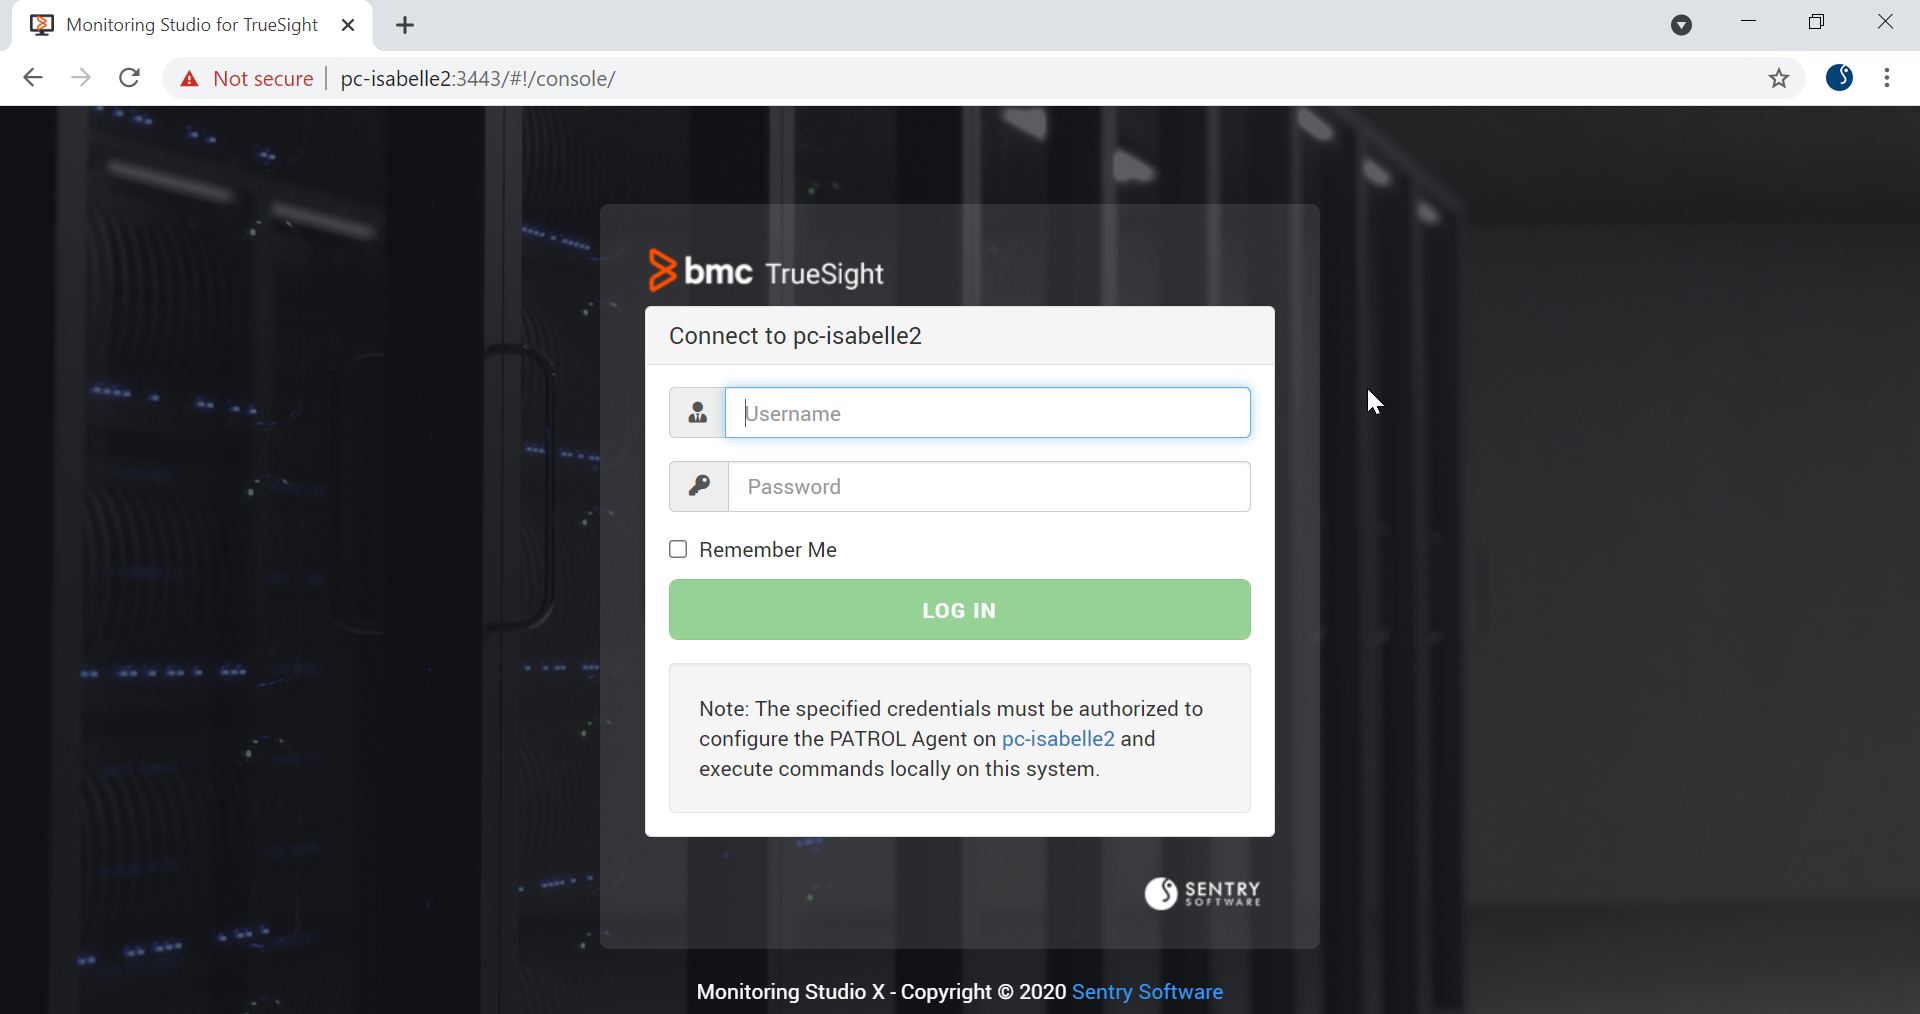
- Log in to the Monitoring Studio Web Interface
- Go to KMs > Storage Analyzer
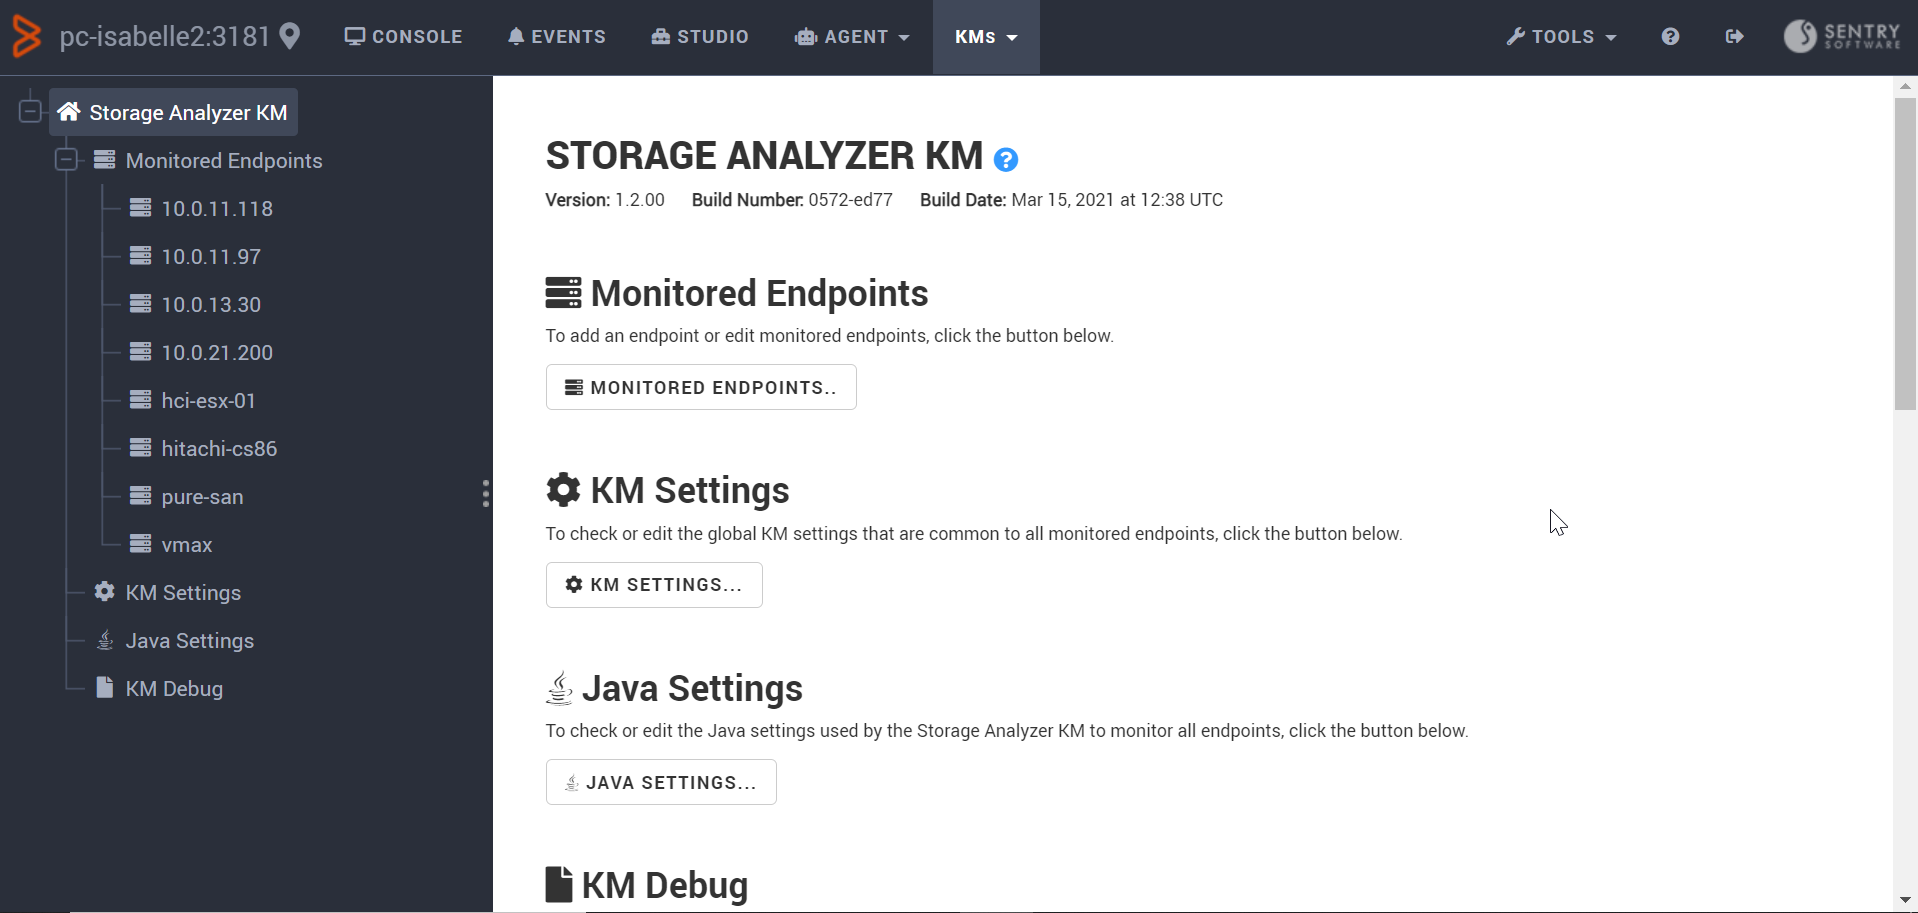
- Click Monitored Endpoints… > New Endpoints…
If you are using the Dell EMC VMAX (REST) Adapter
- Enter the Hostname or IP address of the machine where the Dell EMC Unisphere REST API is installed

- Select the Dell EMC VMAX (REST) as the Storage Intelligence Adapter:

- In the Connection Settings section, provide the credentials to connect to the machine where the Dell EMC Unisphere REST API is installed:

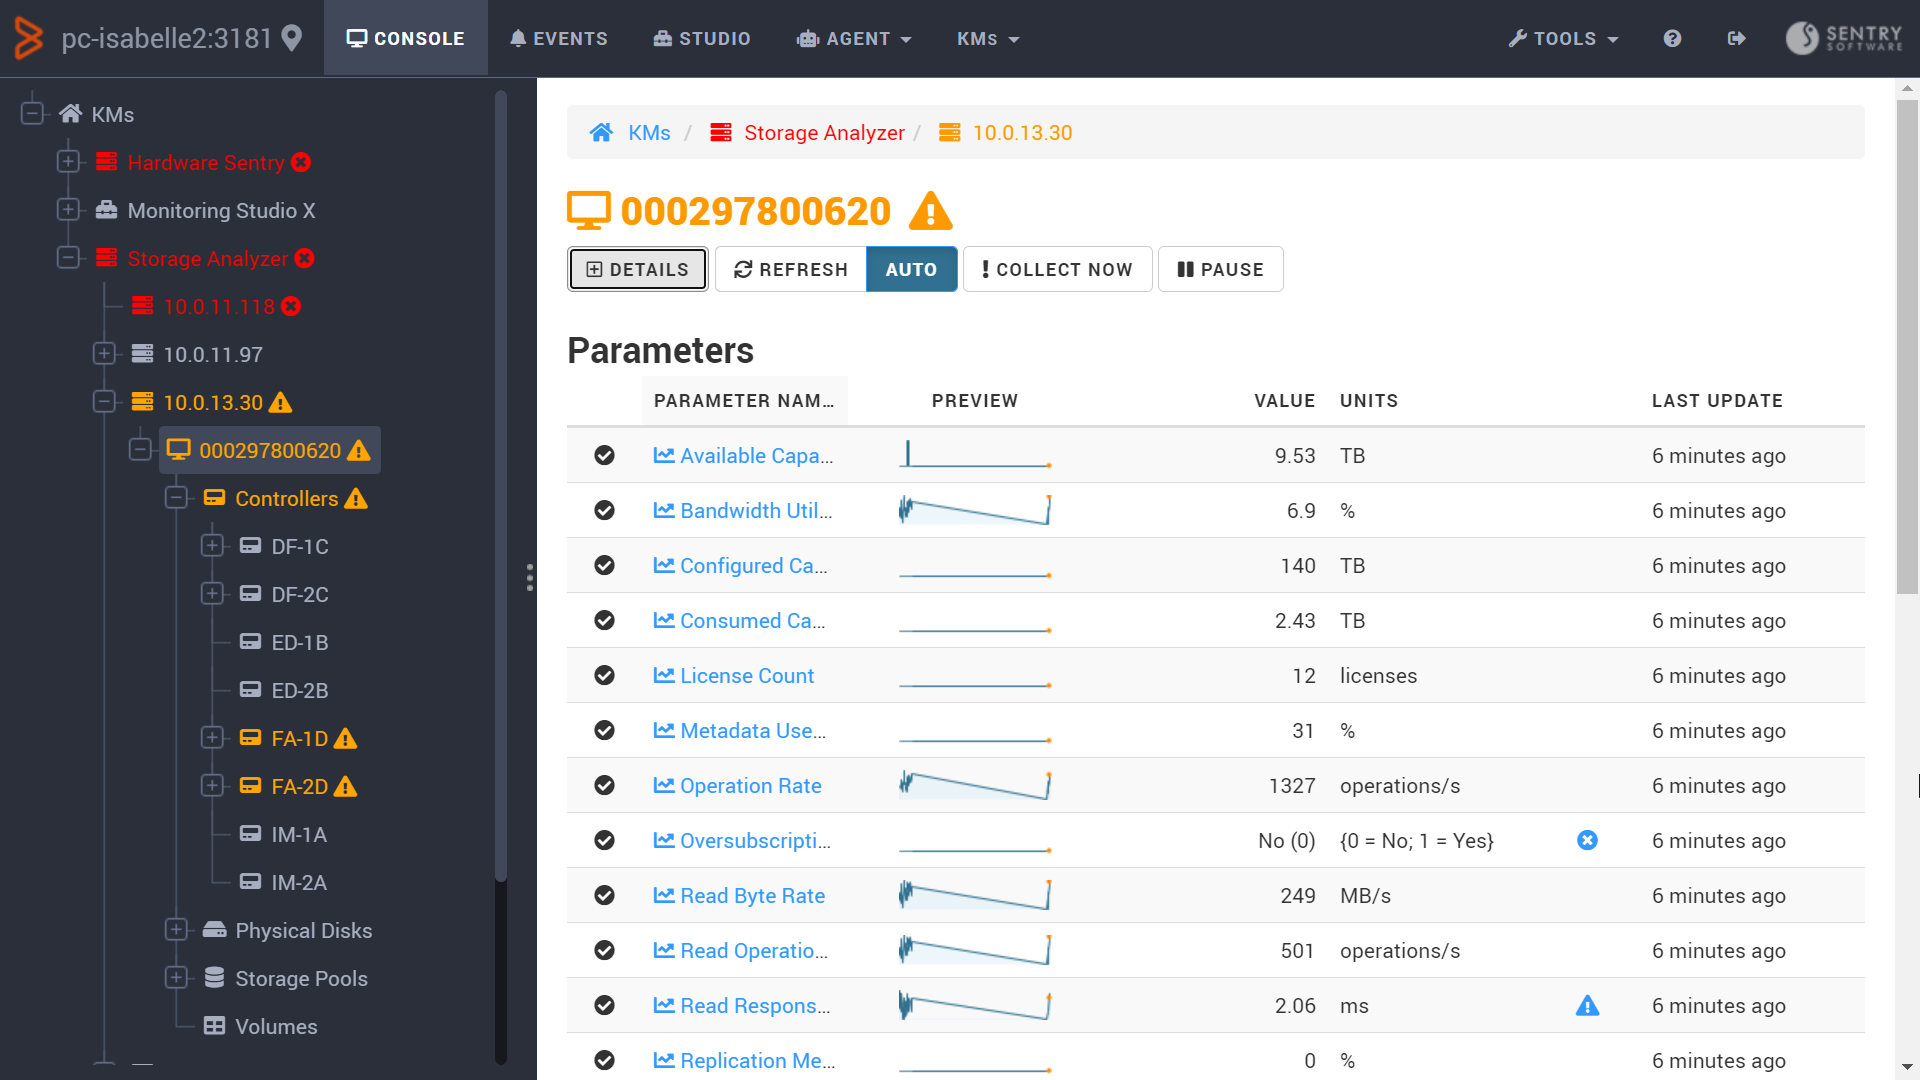
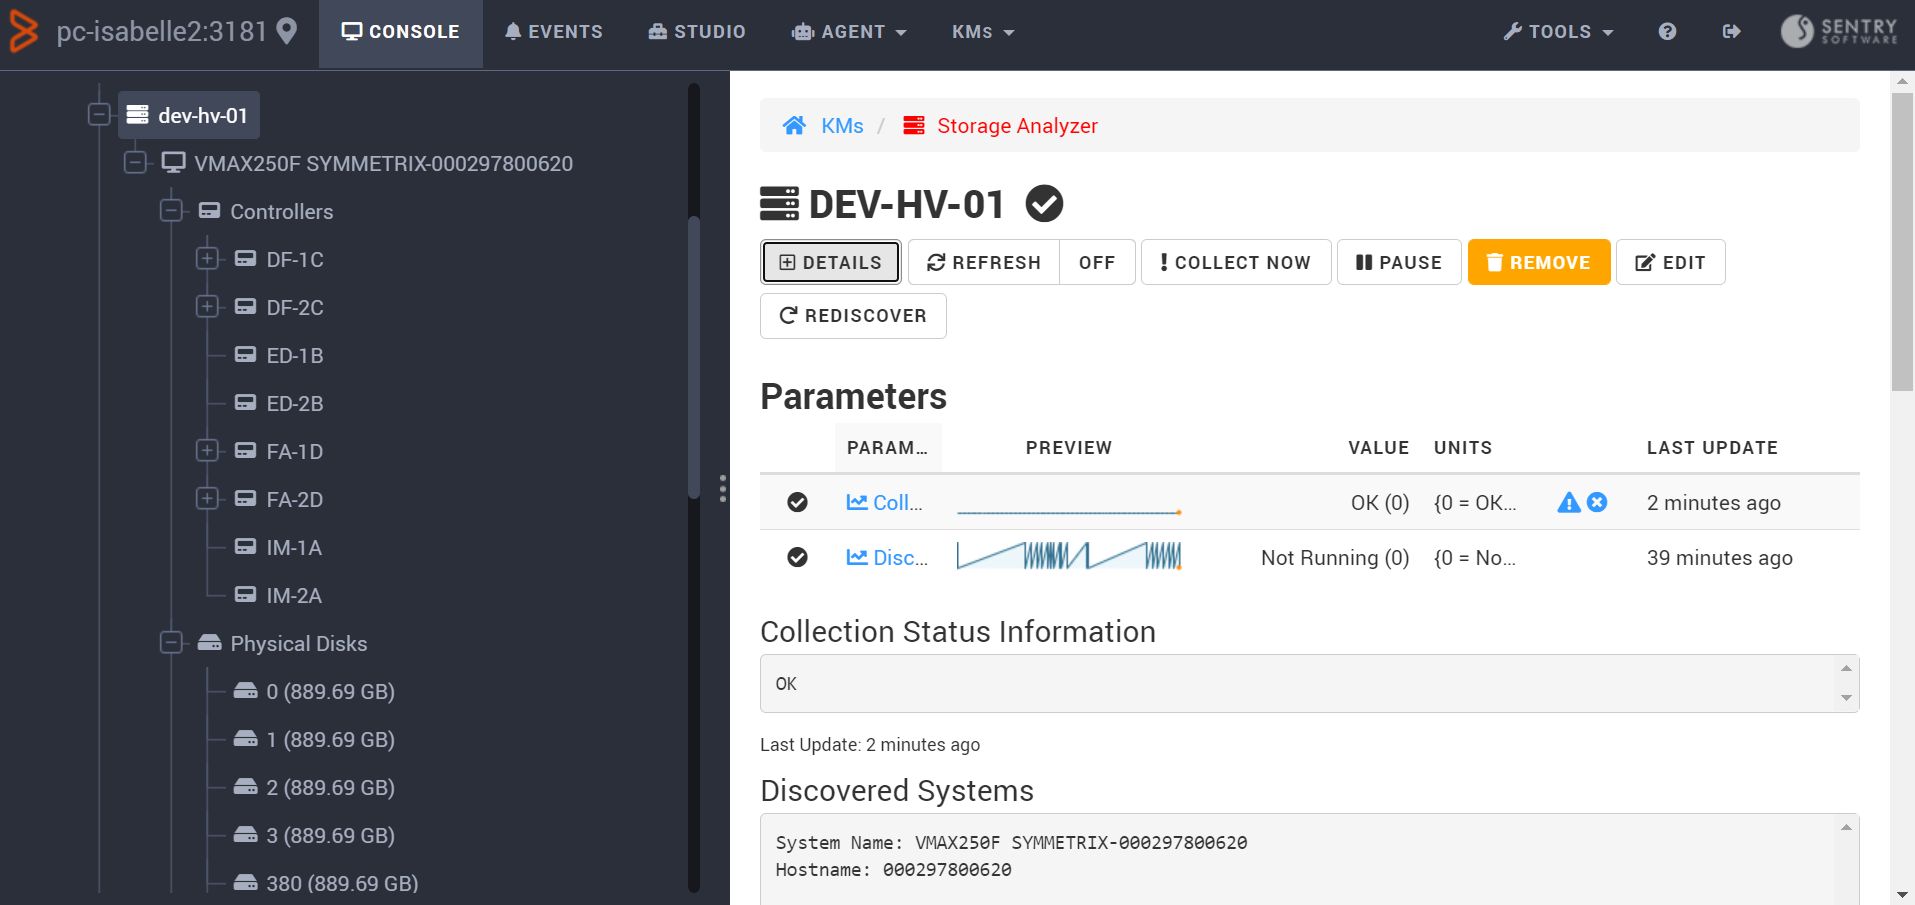
- Click Create. Click Console > Storage Analyzer to make sure your Dell EMC Symmetrix VMAX disk arrays are properly discovered:
If you are using the Dell EMC VMAX (WBEM) Adapter
- Enter the Hostname or IP address of the machine where the SMI-S provider is installed

- Select Dell EMC VMAX (WBEM) as the Storage Intelligence Adapter and Enable Hardware Monitoring

- In the Connection Settings section, provide the credentials to connect to the machine where the SMI-S provider is installed:
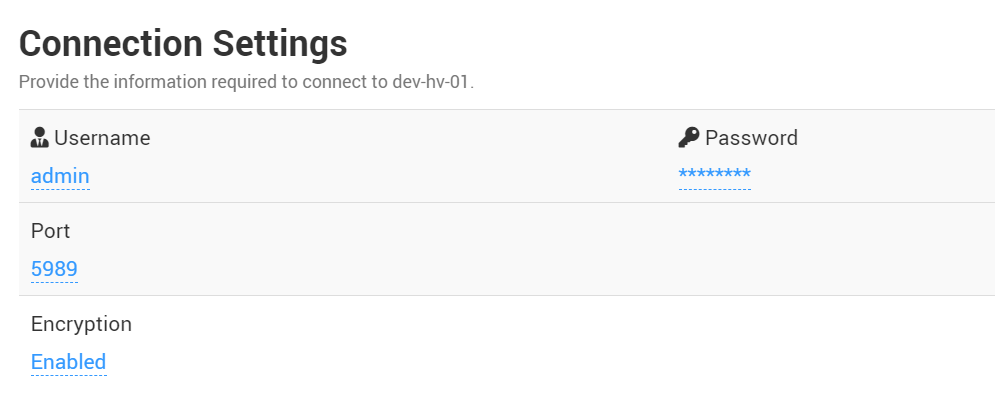
- Click Create. Click Console > Storage Analyzer to make sure your Dell EMC Symmetrix VMAX disk arrays are properly discovered:
In TrueSight Presentation Server
To configure the storage monitoring of Dell EMC Symmetrix XMAX disk arrays in TrueSight:
-
Log in to TrueSight Presentation Server.
-
Create a new policy:
- Specify the general properties and agent selection criteria.
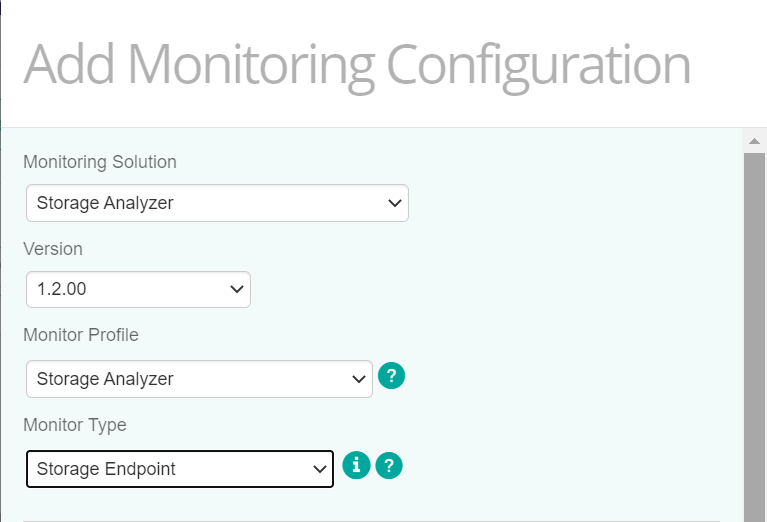
- Add a monitoring configuration.
- Select the Storage Analyzer Monitoring Solution.
If you are using the Dell EMC VMAX (REST) Adapter
- In the Storage Configuration section, click Add:
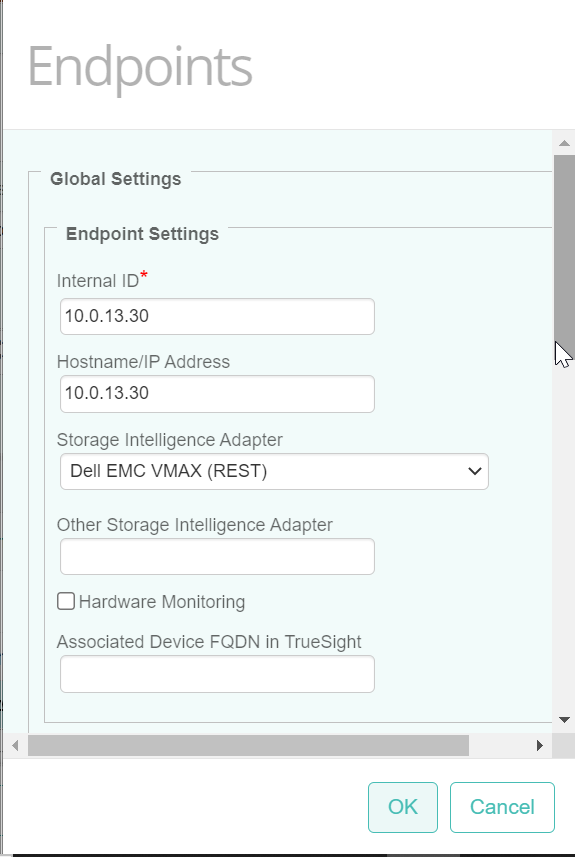
- In the Endpoint Settings section:
- Enter the Hostname or IP address of the machine where the Dell EMC Unisphere REST API is installed
- Select Dell EMC VMAX (REST) as the Storage Intelligence Adapter.
- In the Endpoint Connection Settings section, provide the credentials to connect to the machine where the Dell EMC Unisphere REST API or the SMI-S provider is installed:
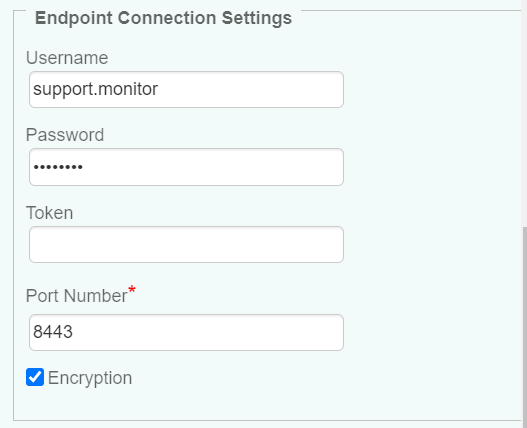
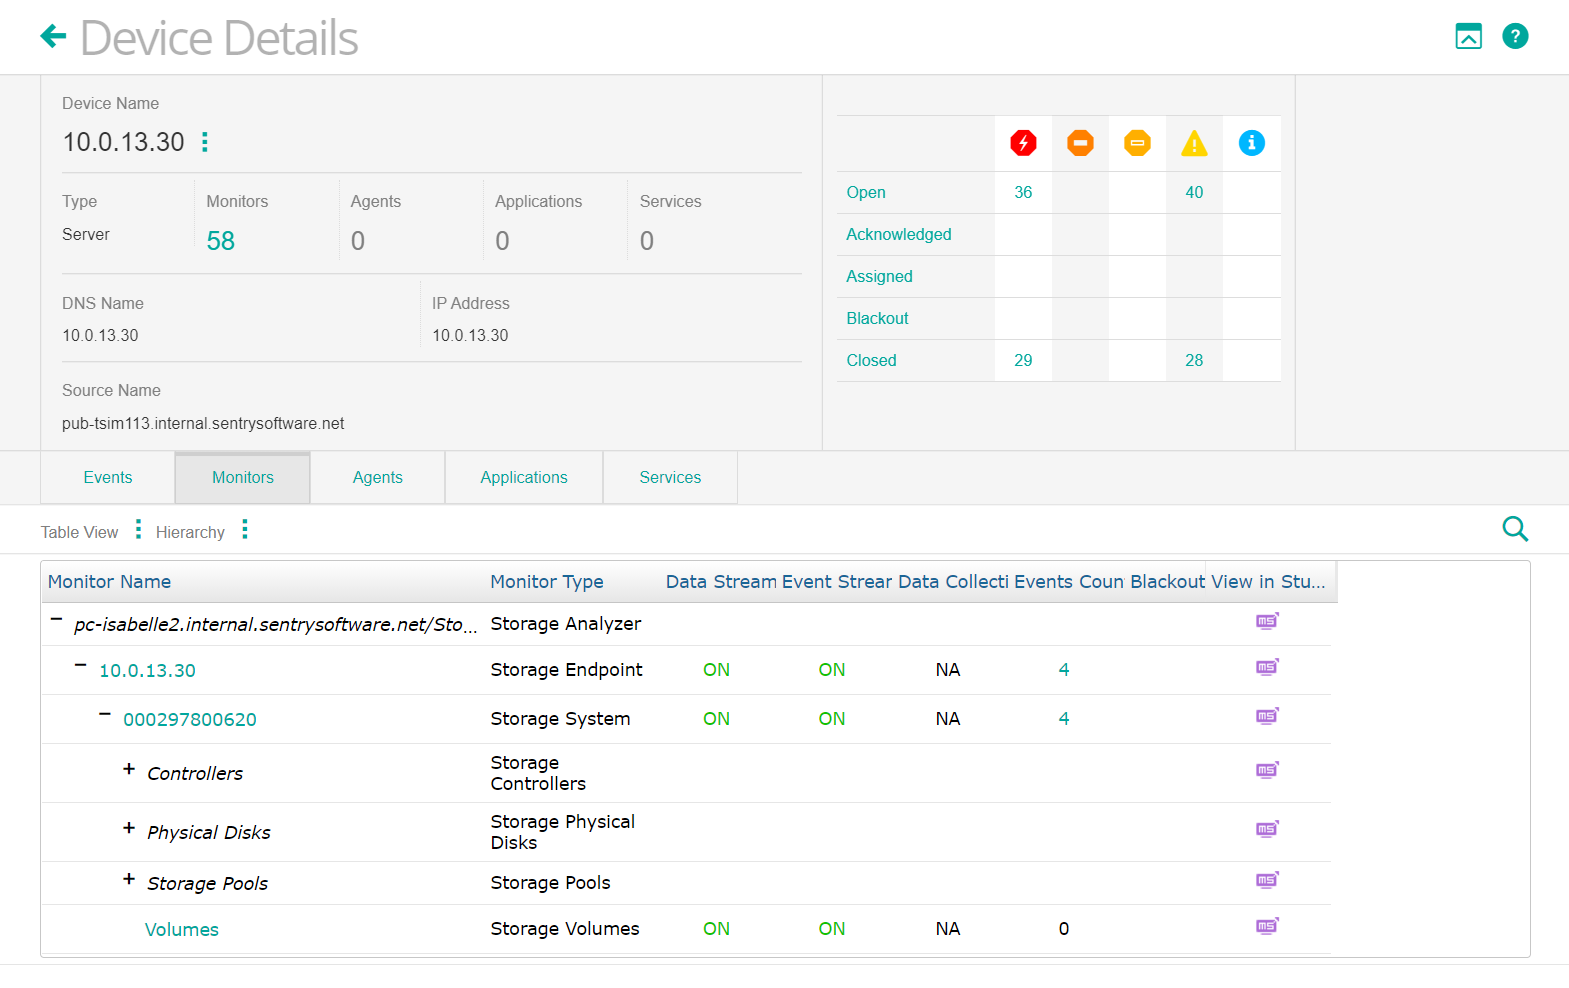
- Click OK twice and Save. After a few minutes, your device will be displayed in TrueSight.
If you are using the Dell EMC VMAX (WBEM) Adapter
-
In the Storage Configuration section, click Add:
-
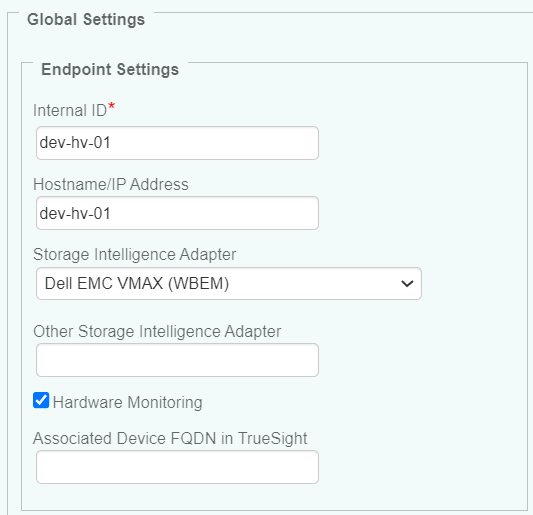
In the Endpoint Settings section:
- Enter the Hostname or IP address of the machine where the SMI-S Provider is installed
- Select Dell EMC VMAX (WBEM) as the Storage Intelligence Adapter
- Check the Hardware Monitoring box
-
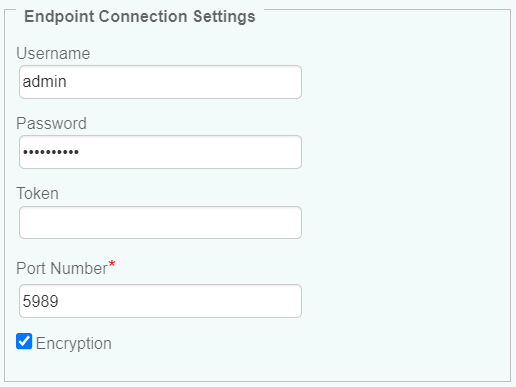
In the Endpoint Connection Settings section, provide the credentials to connect to the machine where the SMI-S provider is installed:
- Click OK twice and Save. After a few minutes, your device will be displayed in TrueSight.
Configuring Hardware Sentry KM to Monitor Dell EMC Symmetrix VMAX Disk Arrays
Hardware Sentry KM can either be configured in:
- Monitoring Studio X (Starting from v10.2.00 of Hardware Sentry)
- TrueSight.
Configuring Hardware Sentry KM in Monitoring Studio X
To configure the hardware monitoring of Dell EMC Symmetrix VMAX disk arrays in Monitoring Studio X:
- Make sure Hardware Sentry v10.2.00 or higher and Monitoring Studio X are installed on the same machine
- Log in to the Monitoring Studio X Web interface

- Go to KMs > Hardware Sentry
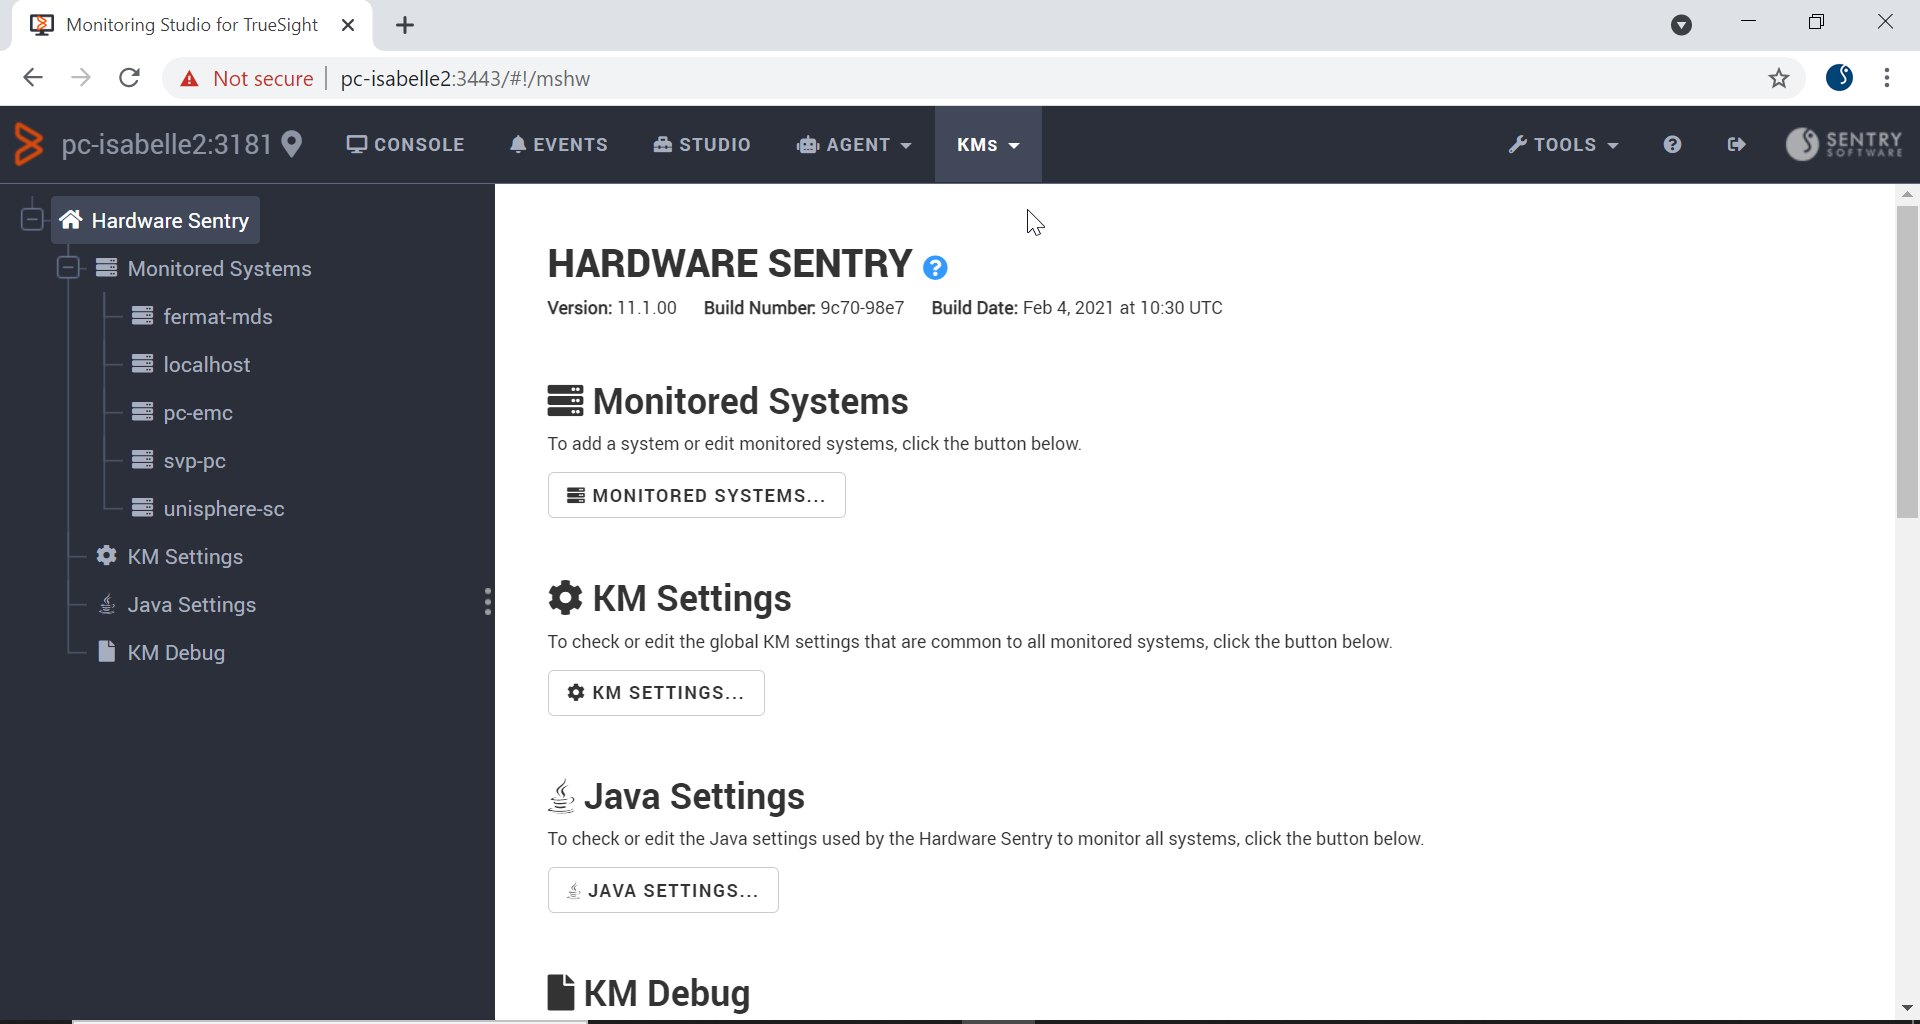
- Click Monitored Systems… > New System…
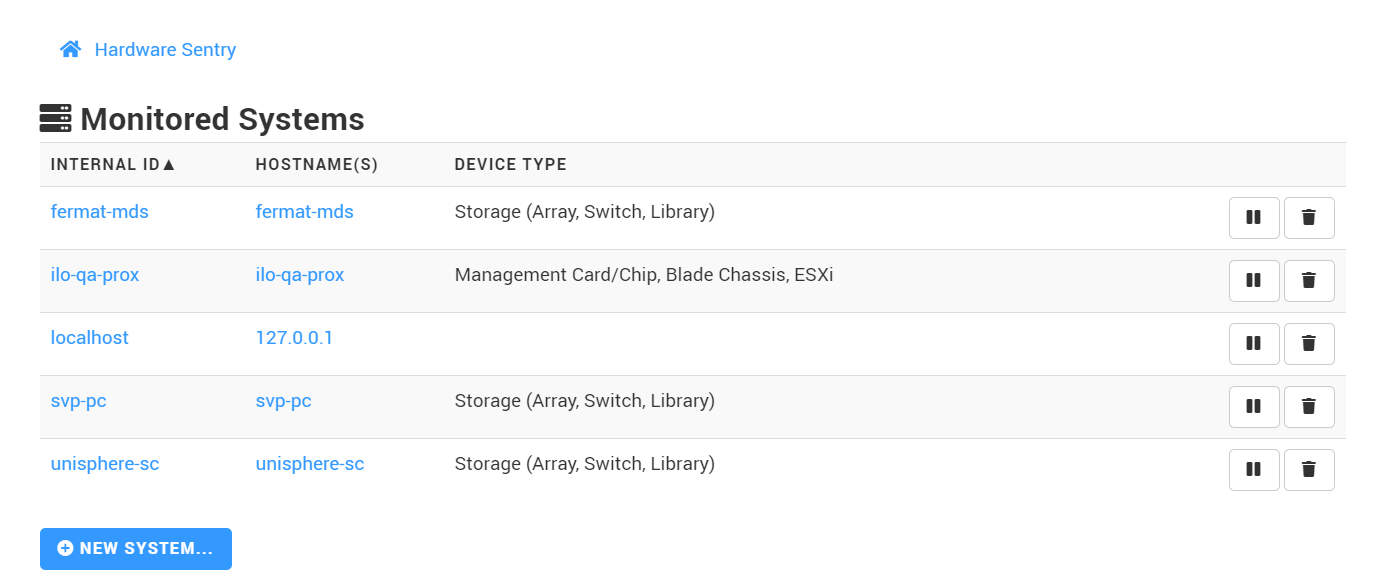
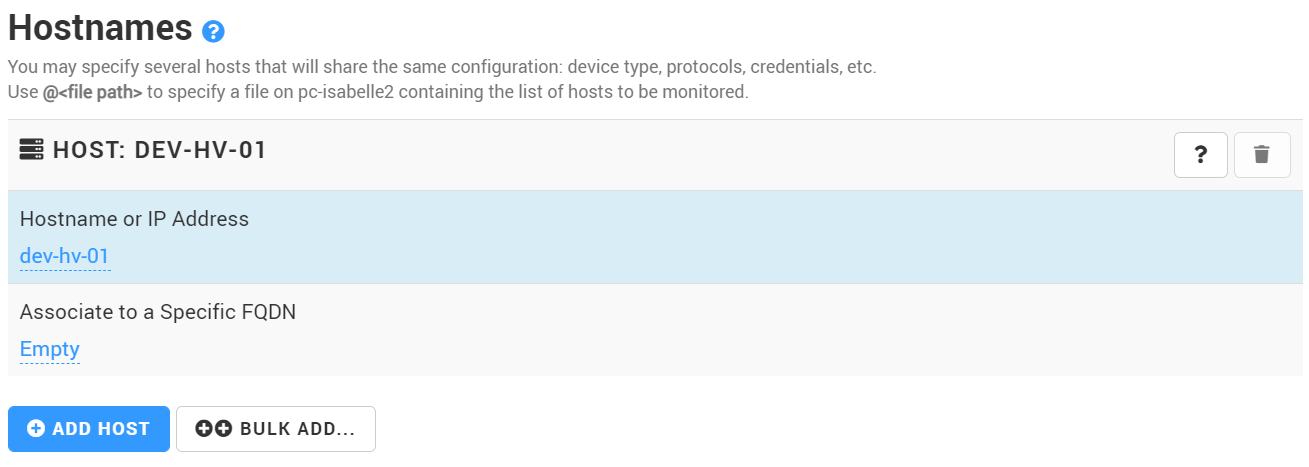
- Enter the hostname or IP address of the Dell EMC Symmetrix VMAX disk array to be monitored
- In the System Properties section, select Storage (Array, Switch, Library)

-
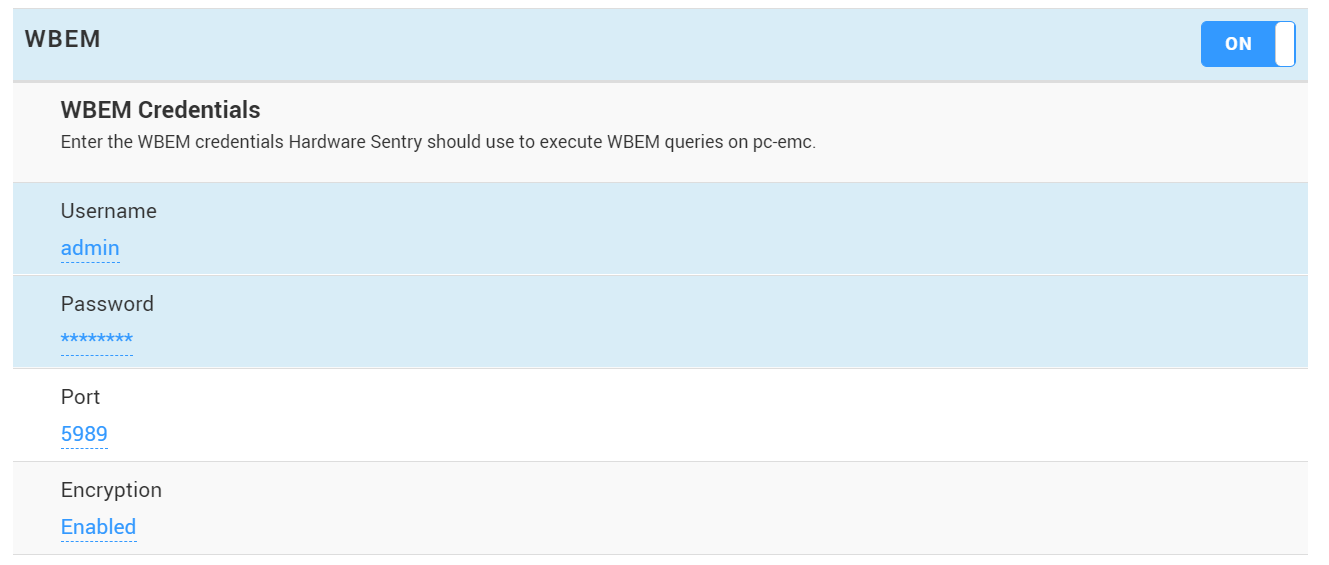
In the Protocols section, enable WBEM and provide the credentials to connect to the SMI-S provider
-
Scroll-down to the Connectors section and select Automatic

-
Click Create.
-
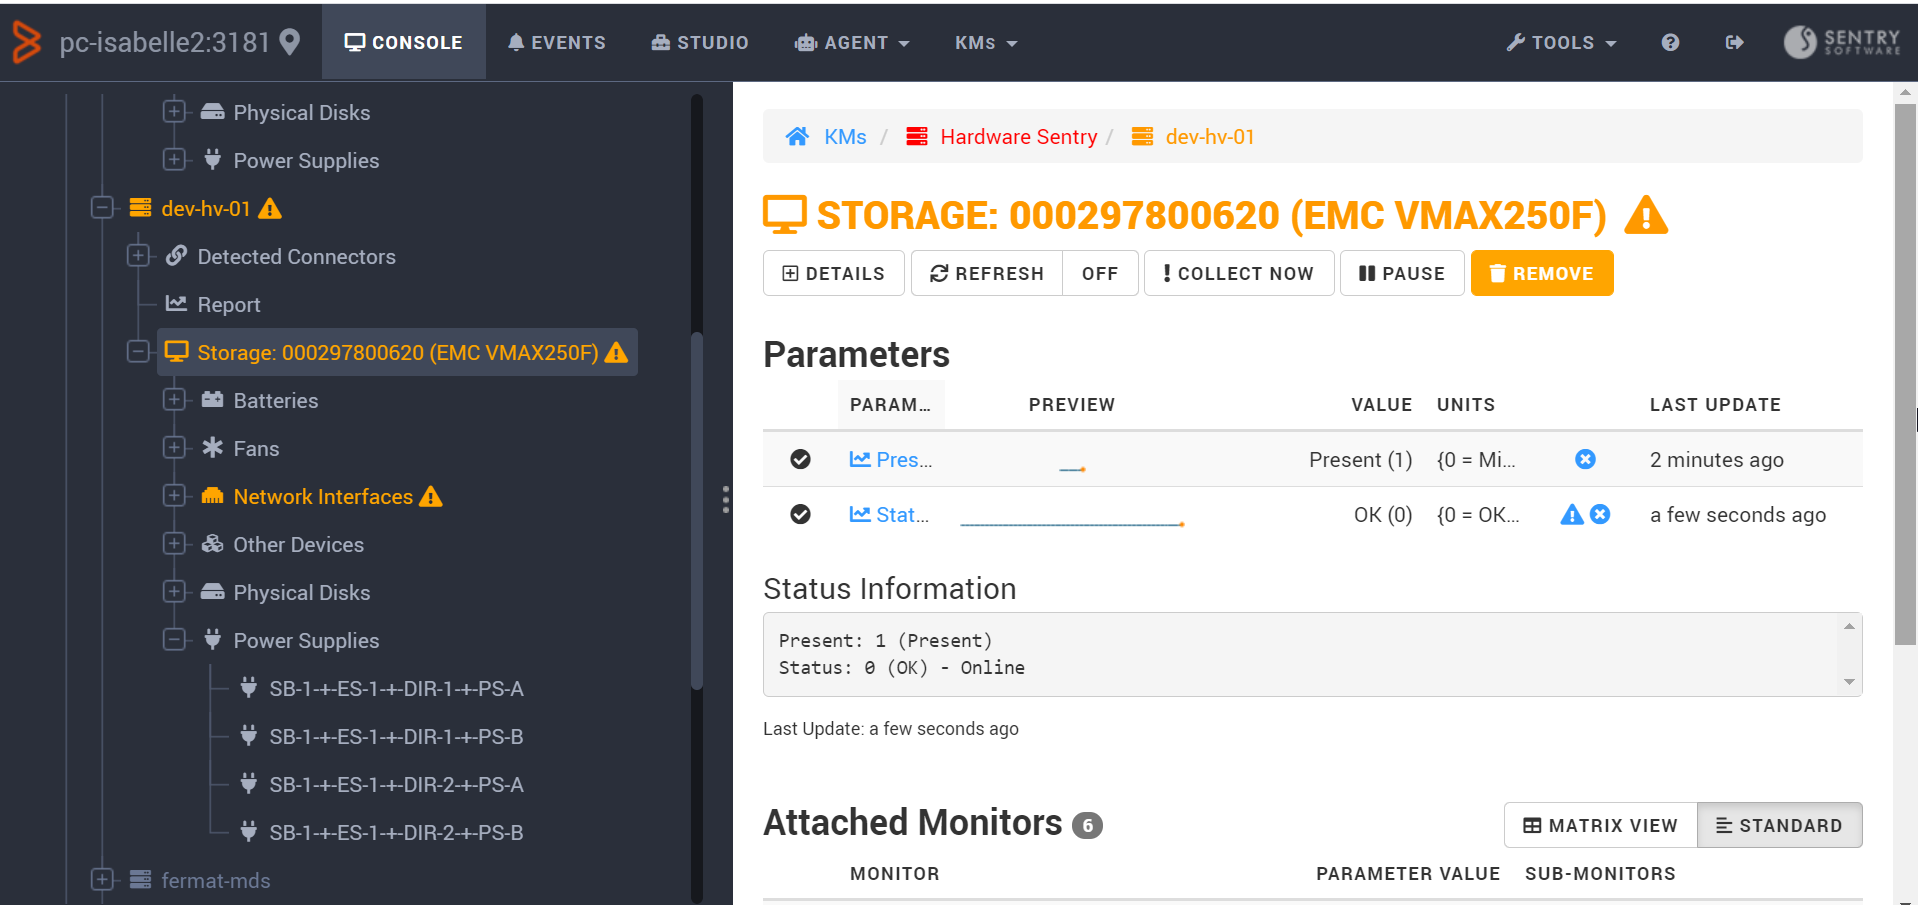
Click Console to check the hardware health status of your Dell EMC Symmetrix VMAX disk array:
Configuring Hardware Sentry KM in TrueSight
To configure the hardware monitoring of Dell EMC Symmetrix XMAX disk arrays in TrueSight:
-
Log in to TrueSight Presentation Server.
-
Create a new policy:
- Specify the general properties and agent selection criteria.
- Add a monitoring configuration.
- Select the Hardware Monitoring Solution.
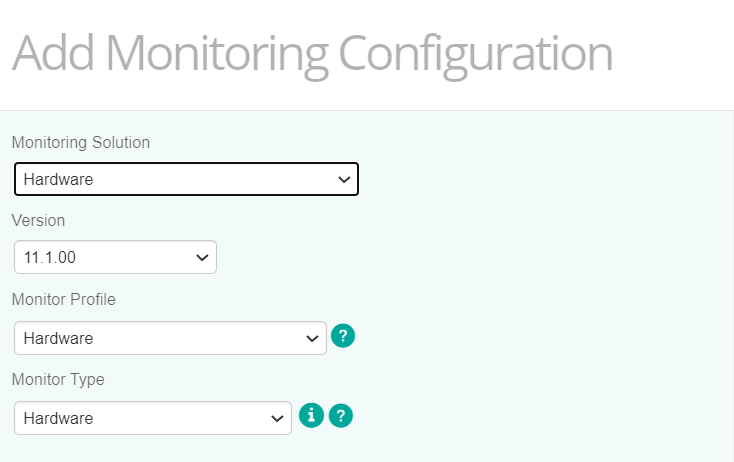
-
In the Hardware Configuration section, click Add:
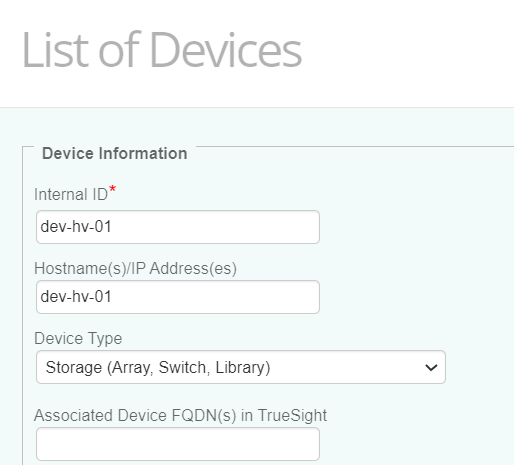
- Indicate the name of the device you wish to monitor. In our example, we will indicate the hostname of the server on which the SMI-S provider is installed (dev-hv-01).
- Enter the IP address of the device. If no IP address is provided, the device name previously specified will be used.
- Select Storage (Array, Switch, Library) as Device Type.
-
Specify the Protocol/Connection Information:
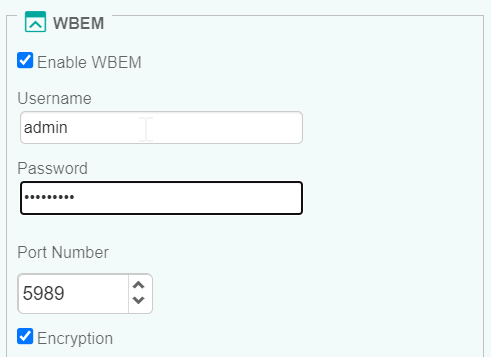
- Enable WBEM
- Enter the Username and Password to use to establish the connection with the device using the WBEM protocol. In our example, we will indicate the WBEM credentials to access the CIM server running on the SMI-S installed server.
- Specify the port number. By default, port 5989 is used for encrypted connections and 5988 for non-encrypted connections.
- For encrypted connections, check the Encryption option.
-
In the Device Advanced Settings section:
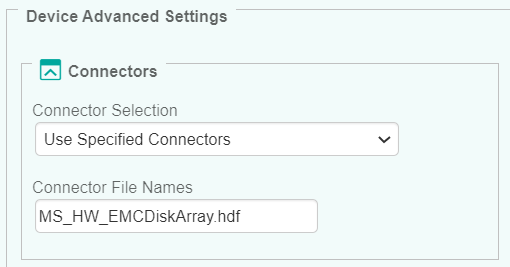
- Select Use Specified Connectors.
- In the Connector File Names field, enter MS_HW_EMCDiskArray.hdf.
-
Click OK twice.
-
Click Save. After a few minutes, your device will be displayed in TrueSight, under Monitoring > Hardware Devices.
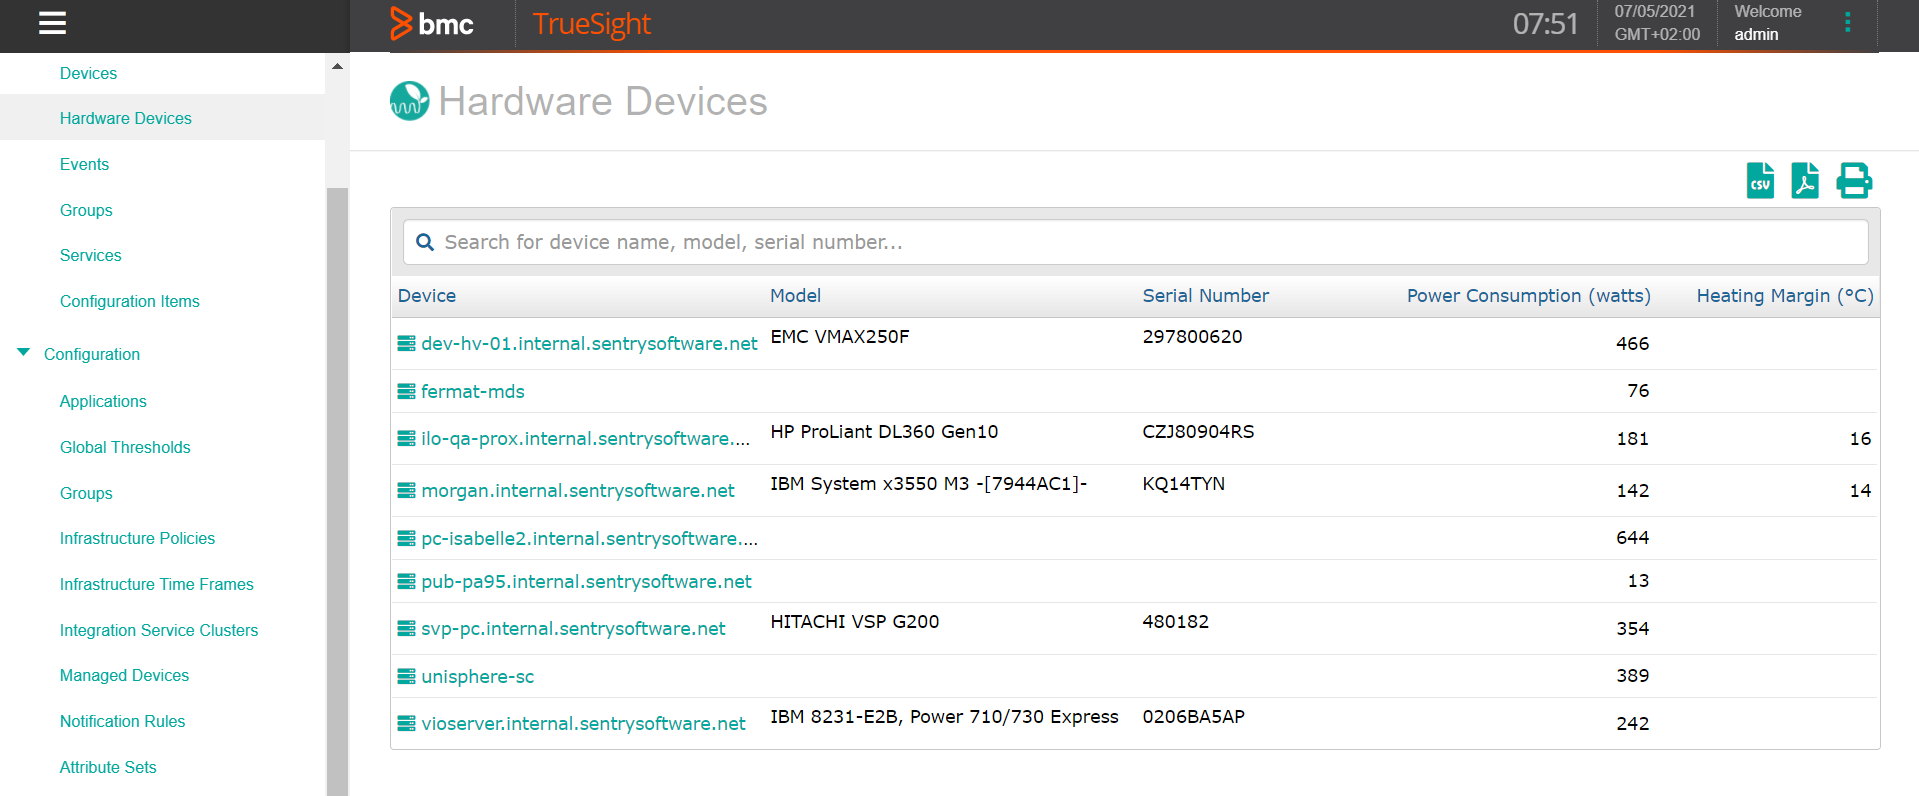
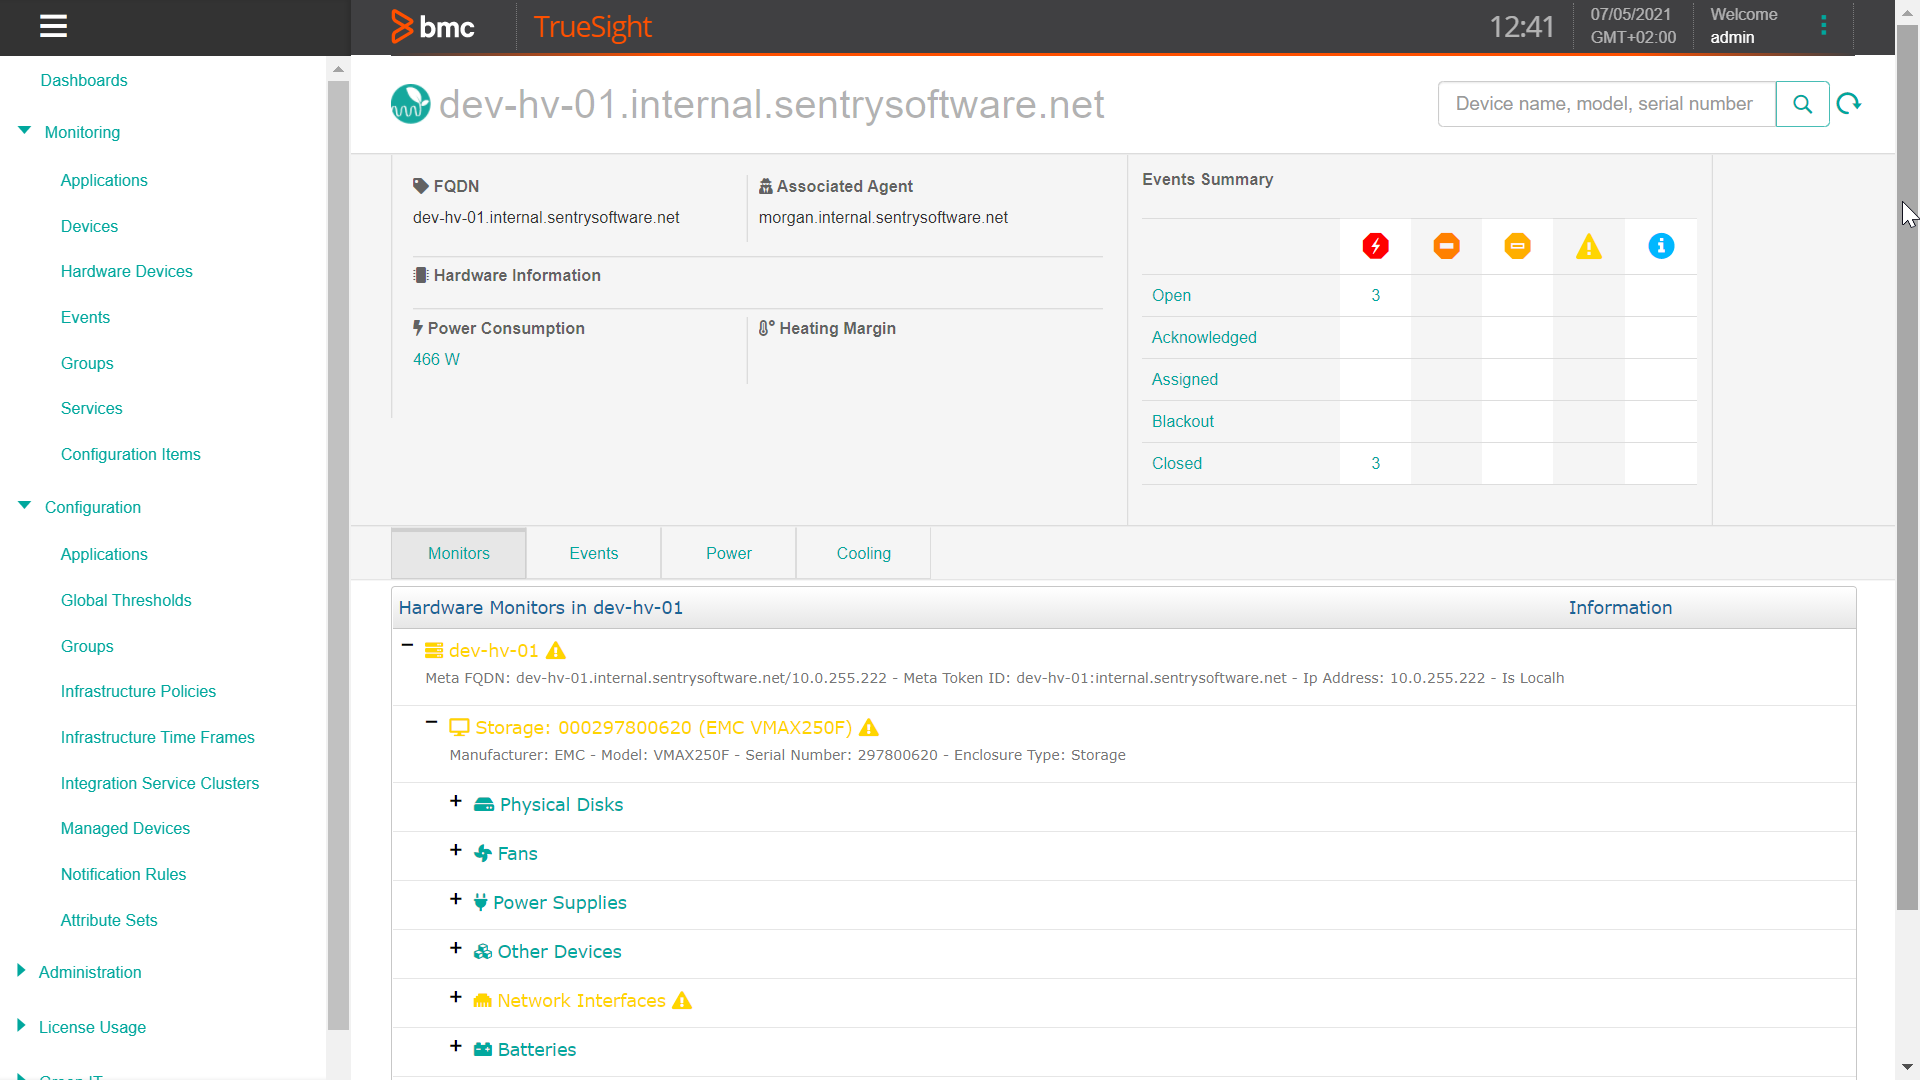
- Click the device to show its details:
Configuring the EMC Disk Array KM (Legacy KM)
To configure the EMC Disk Arrays KM for both hardware and performance monitoring:
- Log in to TrueSight Presentation Server
- Create a new policy:
-
Specify the general properties and Agent Selection Criteria.

-
Add a monitoring configuration.
-
Select the EMC Storage Monitoring Solution.

-
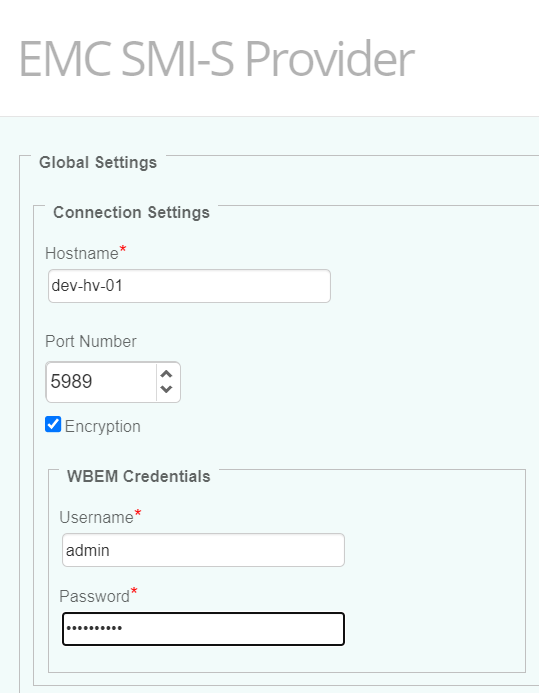
In the EMC Storage Configuration section, click Add to provide the credentials to connect to the SMI-S Provider.
-
Click OK.
-
Click Save. After a few minutes, your device will be displayed in TrueSight.
Related Topics
- EMC SMI-S Agent (ECOM) Connector Stopped Working After Migrating to Dell Solutions Enabler v10
- How to Filter Out Unwanted Storage Systems with Storage All-in-One ETL v1.26.00 and Higher
- How to Monitor Dell EMC VMAX/PowerMax Storage Systems with Storage Analyzer KM
- How to Rebuild the SYMAPI Database in the EMC SMI-S Provider
- Monitoring Cisco UCS Servers Through Their IMC

