Description
In this article, you will learn how to monitor the health and the performance of a Brocade SAN switch with Hardware Sentry KM. The switch, which is the heart of the SAN, is the most critical part of a storage infrastructure. By monitoring a SAN switch, you can detect any connectivity issue on the hosts, the switches, the disk arrays and the tape libraries and diagnose bottlenecks and multi-path setups. You can also identify:
- which servers are very demanding
- which disk array is under hard pressure
- and the impact of the nightly backups.
Solution
Brocade SAN Switch Instrumentation
Hardware Sentry KM will either rely on:
- the Brocade SNMP Agent which is based on the Fiber Alliance Management MIB (fcSwitch-MIB).
- the Brocade SMI Agent Proxy.
Monitoring Features
Once properly installed and configured, Hardware Sentry KM constantly monitors your Brocade SAN switch. Depending on the instrumentation chosen, the collected metrics will differ. To know which metrics are collected, refer to:
Pre-requisites
If Leveraging the SNMP Agent
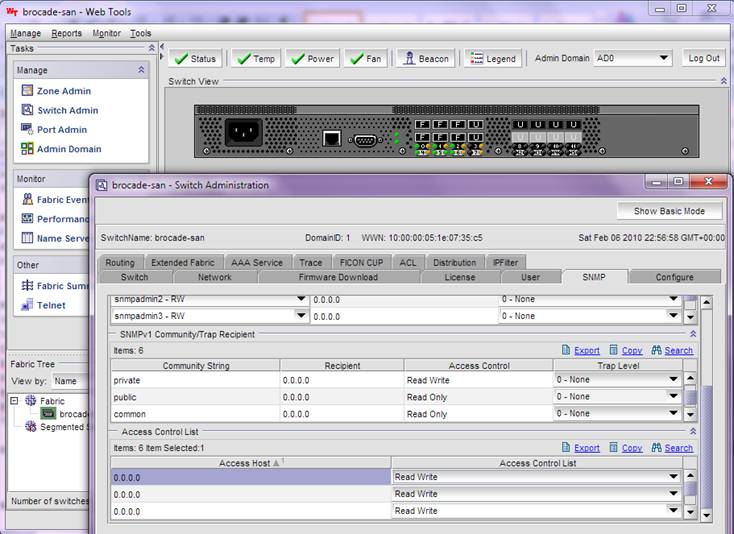
SNMP must have been enabled on the Brocade SAN switch. This can be done directly on the switch itself by connecting to its Web management interface.
If Leveraging the SMI Agent Proxy
You must download Brocade DCFM or Network Advisor to install the Integrated SMI Agent. During the installation process, you will have to select either the SAN+IP installation type and SMI Agent Only. You will then have to use the Server Management Console or Web-Start URL to configure the SMI.
Setting up Hardware Sentry KM to Monitor a Brocade SAN Switch
Additional Pre-requisites
You need a fully working BMC TrueSight environment:
- A PATROL Agent installed on a system with a network access to the Brocade SAN switch. The system does not need to be part of the SAN.
- BMC TrueSight Operations Management installed and properly configured.
Principle
Hardware Sentry KM will run on a system (any server, workstation or virtual machine with network access to the Brocade switch) and will be configured to connect to the Brocade switch to monitor it.
Installing Hardware Sentry KM
Refer to the Installation Procedure to know how to install Hardware Sentry KM.
Configuring Hardware Sentry KM
- In TrueSight, configure the monitoring of your Brocade SAN switch:
- Create a new policy or edit an existing one
- Under the Device Information section:
- Enter an Internal ID
- Enter the IP Address of the Brocade SAN switch to be monitored
- From the Device Type pull-down list, select Storage (Array, Switch, Library).
- (If leveraging the Brocade SNMP Agent) Scroll-down to:
- the SNMP section to Enable SNMP and provide the SNMP community string that has read privileges on the switch
- the Device Advanced Settings and:
- select Use Specified Connectors from the Connector Selection drop-down list
- Enter MS_HW_BrocadeSwitch.hdf in the Connector File Names field
- (If leveraging the Brocade SAN Switch SMI Agent) Scroll-down to:
- the WBEM section to Enable WBEM and provide the credentials to connect to the SMI Agent
- the Device Advanced Settings and:
- select Use Specified Connectors from the Connector Selection drop-down list
- Enter MS_HW_BrocadeSwitchWBEM.hdf in the Connector File Names field.
- Click OK.
- Click OK and Save.