Description
This article explains how to install and configure the EMC SMI-S provider to monitor the Dell EMC CLARiiON disk arrays with the Hardware and Storage Monitoring solutions developed by Sentry Software.
The monitoring of Dell EMC disk arrays relies on the SMI-S agent that can be installed on any server that has network access to the Dell EMC disk array’s management cards. The server can be a Virtual Machine.
The SMI-S provider is part of the Dell EMC Solutions Enabler with SMI and can be downloaded from the Dell EMC’s Online Support website (Registration required). Sentry Software recommends downloading the latest version of the x64 package available.
Due to known conflict between Dell EMC Control Center and the Dell EMC Solution Enabler with SMI, we recommend not installing these two products on the same server.
Please read the Release Notes for the Dell EMC Solutions Enabler with SMI before proceeding with the installation.
Installing the SMI-S provider on Windows
-
Launch the self-extracting executable
-
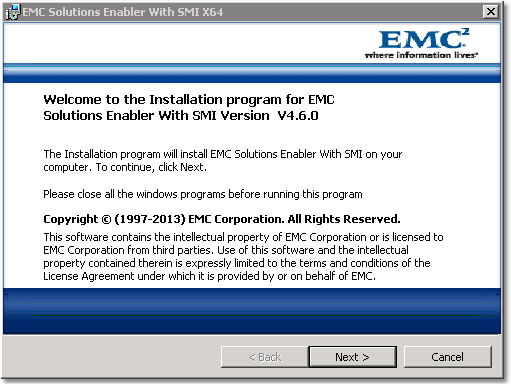
Select the items required by Dell EMC Solutions Enabler with SMI and click Install. The Dell EMC Solutions Enabler with SMI welcome page appears:
-
Click Next to begin the installation. The Destination Folder dialog box opens and prompts you to select an install directory for Dell EMC Solutions Enabler. It is recommended that you choose the default directory.

-
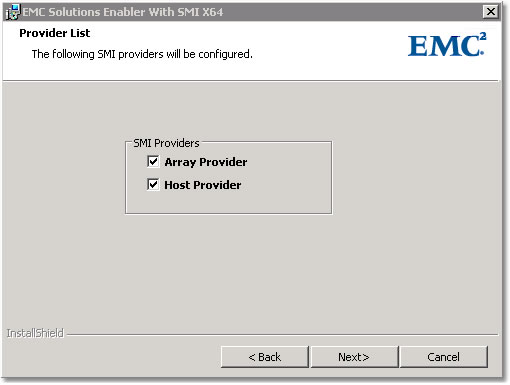
Select the destination folder and click Next. The Provider List dialog box opens.
-
Select both Array Provider and Host Provider and click Next to continue. The Service List dialog box opens.

-
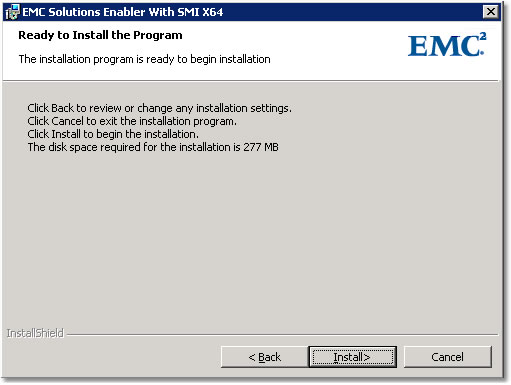
Click Next. The Ready to Install the Program dialog box opens.
-
Click Install to begin installing files to your selected folder. This may take several minutes.
-
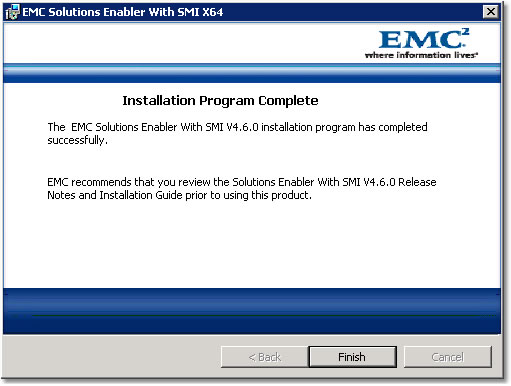
When the Installation Wizard Complete dialog box opens, click Finish to complete the setup.
-
When the installation procedure is complete, update your environment variable for path to include the Dell EMC Solutions Enabler installation directory, which by default is
C:\Program Files\EMC\SYMCLI\bin, in order to run the command line utilities from any directory.
CLARiiON Arrays: Post-Installation Tasks
Starting and Stopping the Dell EMC CIM Server
Upon completion of the installation, the Dell EMC CIM Server will start automatically.
On Windows, the CIM Server runs as a service and can be controlled through the Windows Services control panel. The service name is ECOM.exe and it is displayed as ECOM in the Services control panel.
As an alternative method for stopping and starting the EMC CIM Server, the ECOM.exe file is located in the Solutions Enabler C:/Program Files/EMC/ECIM/ECOM/bin directory.
- Use the following command to start the Dell EMC CIM Server: sm_service start ecom.exe
- Use the following command to stop the Dell EMC CIM Server: sm_service stop ecom.exe
Servers Attached to the SAN via an HBA - Add Authorization Information
For SMI-S Provider to automatically discover locally-attached CLARiiON storage arrays, you must add authorization information for its storage processors. A locally-attached storage array is one in which at least one LUN is visible to the host on which the provider is running.
By default the SMI-S Provider attempts to automatically discover locally-attached storage arrays. If the discovery is not being performed automatically check that the following variable in OSLSProvider.conf is set to true:
OSLSProvider/com.emc.cmp.osls.se.array.StorApi.database.discover
If the discovery is successful, shut down the Dell EMC CIM Service (ECOM) and use the SYMCLI symcfg command to provide authentication information for each storage processor:
symcfg authorization add -host ‹hostname> -username ‹username> -password ‹password>
Each Dell EMC array should have two storage processors and authentication information should be provided for both using the above command: first for storage processor A, and then storage processor B.
Once authentication information has been provided for each storage processor in every Dell EMC storage array, restart the Dell EMC CIM Service (ECOM).
Servers not Attached to the SAN via an HBA - Manually Add Disk Arrays.
By default the SMI-S Provider attempts to automatically discover locally-attached CLARiiON storage arrays. This feature can be disabled by setting the following variable in OSLSProvider.conf to false:
OSLSProvider/com.emc.cmp.osls.se.array.StorApi.database.discover
Out-of-band CLARiiON are arrays which do not have any LUNs presented to the host where the provider is running. To enable the discovery of out-of-band CLARiiON, follow the steps below.
- Run the TestSmiProvider.exe (located at
‹install_dir>\ECIM\ECOM\bin). - Accept defaults for host, connection type and port. Username: LocalDir/admin Password: #1Password
- Run the addsys command.
- Type “y” at Add System prompt.
- Choose the Array Type 1 for CLARiiON
- Type in the IP address of Storage Processor A and Storage Processor B
- Type the Address type 2 for both Storage Processors
- Type the Username and Password for a user with either Admin or Manager Privileges on the Array.
The output should look as follows:
<div class="sourceCode">++++ EMCAddSystem ++++
OUTPUT: 0
Legend: 0=Success, 1=Not Supported, 2=Unknown, 3=Timeout, 4=Failed
5=Invalid Parameter
4096=Job Queued, 4097=Size Not Supported
System: //172.28.5.35/root/emc:Clar_StorageSystem.CreationClassName="Clar_StorageSystem",Name="CLARiiON+CK100060002000"</div>
Installing Dell EMC Solutions Enabler with SMI-S on Linux
Download the Dell EMC Solutions Enabler with SMI-S tar image from the Dell EMC’s Online Support website and extract it to a tmp directory.
Run the seXXXX_install.sh script with -install option to install the solutions enabler.
The installation program will begin copying the files. When complete, the installation program will automatically start the storapid daemon and the cimserver, which may take a few minutes. When complete, the installation program will return the following confirmation message, which lists Dell EMC Solutions Enabler with SMI-S Provider in the HAS BEEN INSTALLED list:
#-----------------------------------------------------------------------------
# The following HAS BEEN INSTALLED in /opt/emc via the rpm utility.
#-----------------------------------------------------------------------------
ITEM  PRODUCT                              VERSION
01    EMC Solutions Enabler            V7.1.2.3
02    SMI  KIT                                  V4.1.2
#-----------------------------------------------------------------------------
CLARiiON Arrays: Post-Installation Tasks
Servers Attached to the SAN via an HBA - Add Authorization Information
A locally attached storage array is one in which at least one LUN is visible to the host on which the provider is running. The locally attached arrays are discovered automatically. But it requires the authorization information for each CLARiiON storage processor already added.
-
Confirm the array to be added is locally attached.
‹install_dir>\SYMCLI\bin\syminq -cidsThere should be at least one LUN mapped to this host from the array.
-
Check the OSLSProvider.conf setting has ‘discover’ set to ‘true’. OSLSProvider.conf is located in the
‹install_dir>\ECIM\ECOM\Providersfolder.OslProv/com.emc.se.osls.osl.StorApi.database.discover=true -
List the authorization info.
‹install_dir>\SYMCLI\bin\symcfg list auth -
If the list does not have entries for SPA and SPB of this array, stop the provider service (ECOM)
-
Add the authorization for SPA and SPB using:
‹install_dir>\SYMCLI\bin\symcfg authorization add -host ‹host> - username ‹user> -password ‹pass>Where
‹host>is the IP Address of the storage processor. -
Start the provider service.
Servers not Attached to the SAN via an HBA - Manually Add Disk Arrays
Out-of-band CLARiiON are arrays which do not have any LUNs presented to the host where the provider is running. To enable the discovery of out-of-band CLARiiON follow the steps below.
-
Log into the Provider by running the TestSmiProvider.exe located at
‹install_dir>\ECIM\ECOM\bin):- Accept defaults for host, connection type and port.
- Username: LocalDir/admin Password: #1Password
-
Run the addsys command.
-
Type “y” at Add System prompt.
-
Choose the Array Type 1 for CLARiiON
-
Type in the IP address of Storage Processor A and Storage Processor B
-
Type the Address type 2 for both Storage Processors
-
Type the Username and Password for a user with either Admin or Manager privileges on the Array.
The output should look as follows:
++++ EMCAddSystem ++++
OUTPUT: 0
Legend:0=Success, 1=Not Supported, 2=Unknown, 3=Timeout, 4=Failed
5=Invalid Parameter
4096=Job Queued, 4097=Size Not Supported

System: //172.16.15.200/root/emc:Clar_StorageSystem.CreationClassName="Clar_StorageSystem",Name="CLARiiON+CKM00083900053"

In 24.808073 Seconds

Please press enter key to continue...
Adding User to the Dell EMC Solutions Enabler with SMI
The default username and password to access the Dell EMC Solutions Enabler with SMI web interface or SMI-S proxy is:
- Username: admin
- Password: #1Password
To add a new user:
- Access
<ip-host>:5989/ecomconfig, where<ip-host>is either the IP address or the name of the SMI-S Provider host - Log in using the username admin and #1Password as password.
- Click Add User and create a user with the role of Administrator. This newly created username can now be used to obtain access to the Array Provider.
This interface will also allow you to change the default admin password.
Setting up the Monitoring of Dell EMC CLARiiON Disk Arrays
While configuring the monitoring of your Dell EMC CLARiiON Disk Arrays with the Sentry Software’s solutions, you will be asked to provide:
- the hostname of the server on which the Dell EMC SMI-S provider is installed
- the WBEM Credentials valid to access the CIM server running on the SMI-S installed server. For example, Login: admin/ Password: #1Password, if the password has not been modified for the login admin.
Related Topics
- EMC VNX Monitoring with Hardware Sentry Fails Because of Special Characters in the Password
- Monitoring Dell EMC Symmetrix VMAX Disk Arrays
- EMC SMI-S Agent (ECOM) Connector Stopped Working After Migrating to Dell Solutions Enabler v10
- Monitoring VNX Disk Arrays
- Removing an EMC CLARiiON System from the SMI-S Provider