Downloads
9.8KB
Introduction
This article explains how to import the pre-built configuration into Monitoring Studio to monitor the Hitachi Data Ingestor appliance.
Monitored Parameters
The pre-built configuration collects the following metrics:
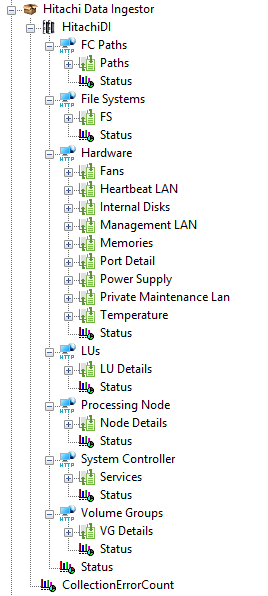
- FC Paths
- File Systems
- Hardware
- Fans
- Heartbeat LAN
- Internal Disks
- Management LAN
- Memories
- Port Detail
- Power Supply
- Private Maintenance LAN
- Temperature
- LUs
- Processing Node
- System Controller
- Volume Groups
Importing the Pre-Built Configuration
Pre-requisites
Before using the pre-built configuration, make sure that:
-
A supported version of the PATROL Agent is installed on the server that has access to the HDI API on port 9090
-
Monitoring Studio KM 9.4 or higher is installed with the latest patches and loaded on the PATROL Agent
-
You have a valid username and password to access the HDI API. To access an HDI system via the API, authentication information consisting of a user name and a password is required for each request. An api-auth cookie is used to set authentication information. Each request is always authenticated before being processed. Here is the format of the api-auth cookies:
api-auth=user-name-encoded-in-Base64:password-generated-by-MD5-hashalgorithm
You can use tools that convert plain texts into Base64-encoded values and MD5 hash values to generate api-auth cookie values.
Procedure
-
Download the configuration file, unzip and copy it on the server where the PATROL Agent is installed and loaded with the Monitoring Studio KM.
-
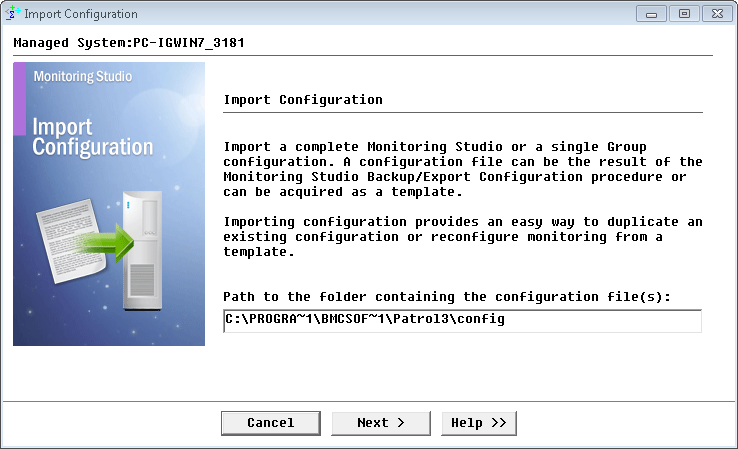
Right-click on the main Monitoring Studio icon > KM Commands > Configuration > Import Configuration…
-
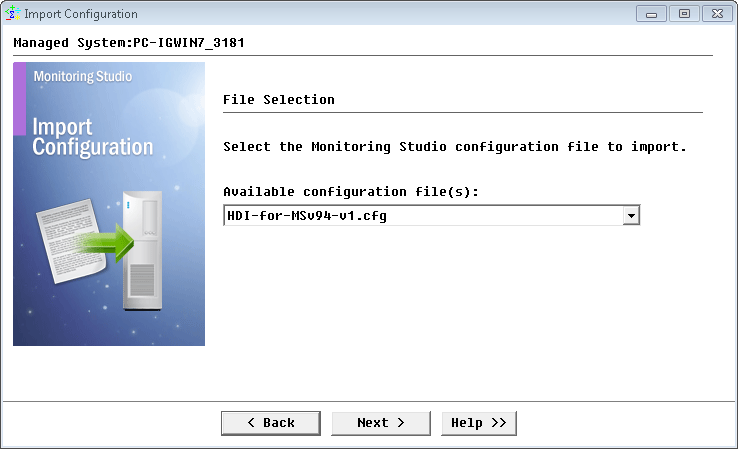
Locate the folder where the downloaded .cfg file is saved and select the HDI configuration file.
-
In the APIUSER_PASSWORD field, copy and paste the
<USERNAME>and<PASSWORD>you have previously converted into Base64 and MD5. The format to be used is:<USERNAME>:<PASSWORD>Important Note: The constant name should **never** be modified!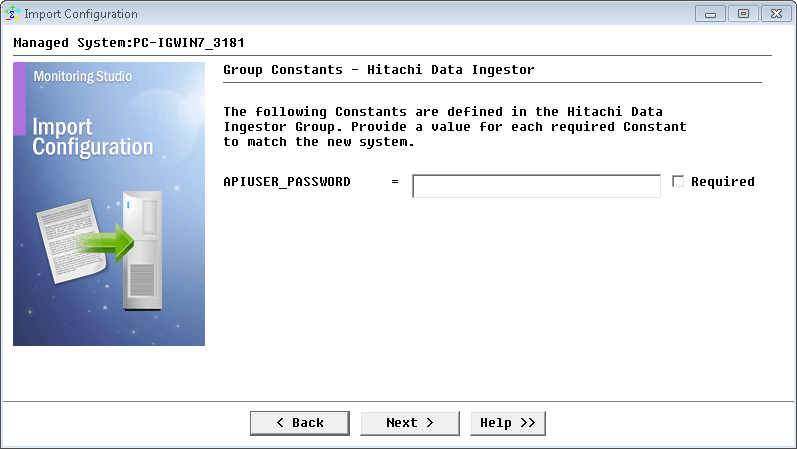
-
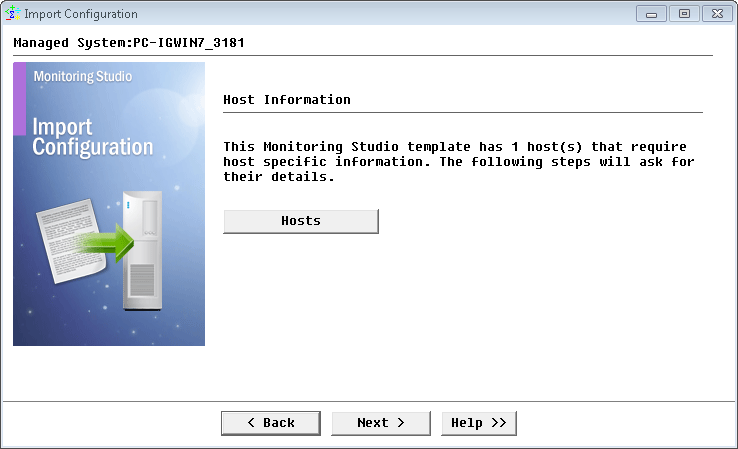
Monitoring Studio indicates the number of hosts found in the configuration file that require specific information before being imported. You can click the Hosts button to view the list. Click Next.
-
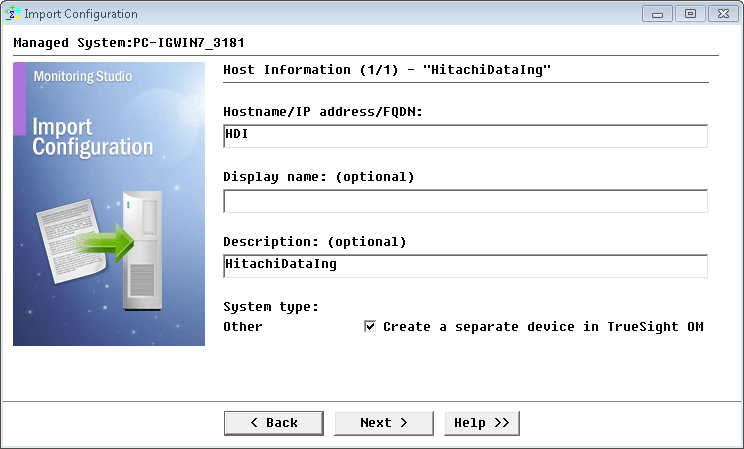
Provide the hostname or IP address of the HDI appliance or the Cluster details if HDI is configured in cluster mode and click Next.
-
Specify the USERNAME and PASSWORD of the HDI to be monitored and click Next.

-
Review the Import Summary and click Next.

-
Click Finish to launch the discovery.
Thresholds are not set by default. We recommend you set them according to your specific requirements.
Learn More
To learn more about the Monitors used in this configuration template, please refer to the Specifying the Monitors Used section of the user documentation.
Please refer to Professional Services page to learn more about the consulting services available.
Related Topics
- Monitoring Proxmox Systems using Monitoring Studio KM
- Monitoring Squid Cache Proxy using Monitoring Studio KM
- Monitoring Dell EMC Avamar Appliances using Monitoring Studio KM
- Monitoring NetApp E Series Storage Devices using Monitoring Studio KM
- Monitoring EMC ViPR Controllers using Monitoring Studio KM