Downloads
Making-Of
Play the tutorial and find out how the configuration template was actually created thanks to the Monitoring Studio easy-to-use graphical interface:
In less than 30 minutes split into 9 easy steps, you will be able to thoroughly monitor MySQL to detect failures, errors and performance problems.
Objective
Our goal is to monitor MySQL Server in BMC PATROL to detect failures, errors and performance problems. This article only applies to version 5.5 of MySQL, but can certainly be adapted to other versions.
Solution
Monitoring Studio KM for PATROL
Our solution relies on Monitoring Studio KM for PATROL, which is a configurable knowledge module for BMC PATROL and BMC TrueSight Operations Management. Typically, a PATROL administrator will use Monitoring Studio KM to set up the monitoring of almost any application for which there is no out-of-the-box monitoring solution available, with no coding involved.
Sentry Software has built a configuration for Monitoring Studio KM to monitor MySQL Server 5.5. This article outlines all the elements monitored by this pre-built configuration and explains how to import it.
More information about Monitoring Studio KM for PATROL is available on the Sentry Software’s Web site.
Monitored components
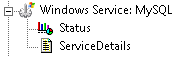
1/ Windows Service
The solution monitors the MySQL Windows Service:
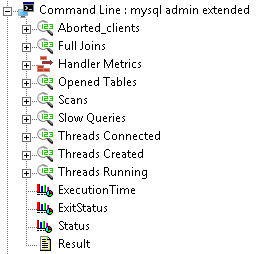
2/Status of MySQL Server
The solution monitors the status of MySQL Server and reports:
- The number of connections that were aborted because the client died without closing the connection properly (Aborted_clients instance)
- The number of joins performing table scans (Full Joins instance)
- The number of tables that have been opened (Opened tables instance)
- The number of joins that did a full scan of the first table (Scans instance)
- The number of queries that have taken too long (Slow Queries instance)
- The number of clients currently connected (Threads Connected instance)
- The number of threads created to handle connections (Threads Created instance)
- The number of queries that are currently processed (Threads Running instance).
The solution also returns the value of all the handler type of parameters.
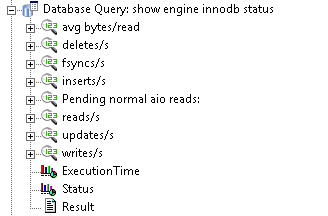
3/Database Performance
The solution runs the show engine innodb status query to monitor the database performance. It more particularly reports:
- The number of average bytes read
- The number of deletes/s
- The number of fsyncs/s
- The number of inserts/s
- The number of pending normal aio reads
- The number of reads/s
- The number of updates/s
- The number of writes/s
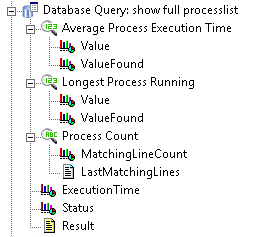
4/Full Process List
The solution runs the show full processlist query to monitor processes. It more especially reports:
- The number of processes (Process Count instance)
- The average execution time (Average Process Execution Time instance)
- The longest process running (Longest Process Running instance)
5/MYSQL Log File
The MySQL Log File is constantly monitored by the solution and any ERROR or WARNING event is reported in the console.
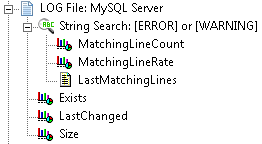
The following parameters are also available for the MYSQL Log file:
- Exists
- LastChanged
- Size
Installation
Pre-requisites
Before monitoring MySQL Server, make sure that the following items are available, installed, and properly configured:
- A fully functional BMC PATROL environment (optionally part of a larger TrueSight environment), with a BMC PATROL Console.
- A PATROL Agent on the machine where MySQL Server is installed.
- A compatible version of Monitoring Studio KM for PATROL properly loaded on the agent and the console:
Templates Compatible version MySQLServer.zip
MySQLServer_Unix.zipv8.6.54 SEN_MSv91+_MySQL_Unix.cfg
SEN_MSv91+_MySQL_Windows.cfgv9.1.00 - The required configuration template file installed on the machine where MySQL Server is installed (Monitoring Studio v8.6.54) or where a PATROL Agent is installed (Monitoring Studio v9.1 and higher).
- An account with at least the PROCESS, SHOW DATABASES, and SHOW VIEW privileges to connect to the database server. To verify the privileges currently set, you can run the following command:
select * from information_schema.user_privileges where grantee like "'mysql_user%'";
Procedure
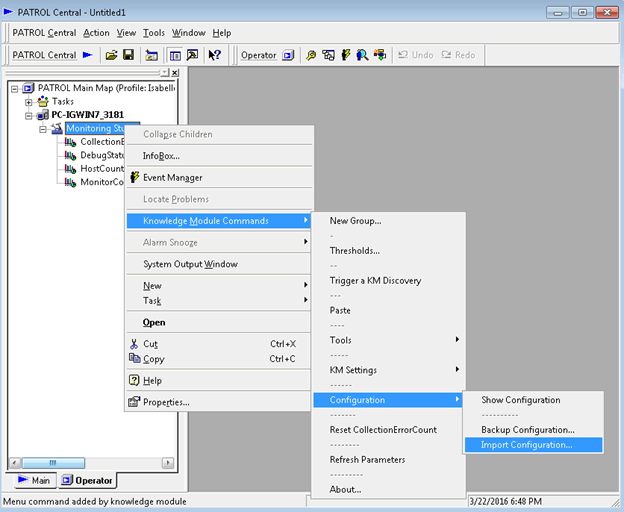
- From the PATROL Console, [right-click] the main “Monitoring Studio” icon > [KM Commands] > [Configuration] > [Import Configuration…]
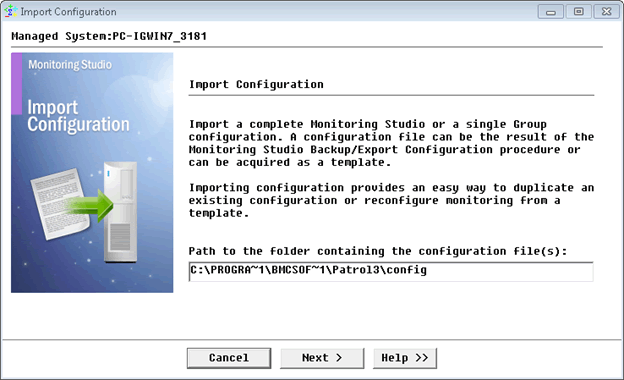
- Enter the path of the folder where you have stored the configuration file and click [Next].
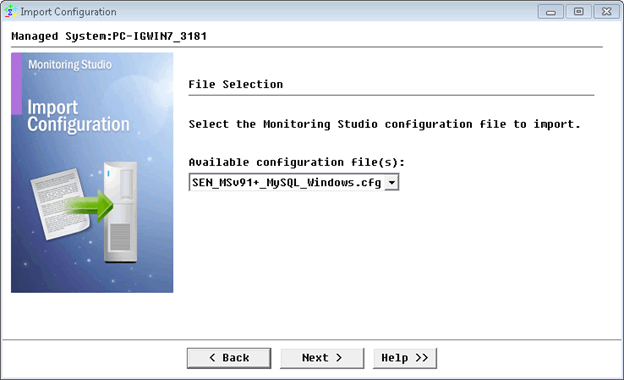
- Select the configuration file and click [Next].
- Set the following application constants:
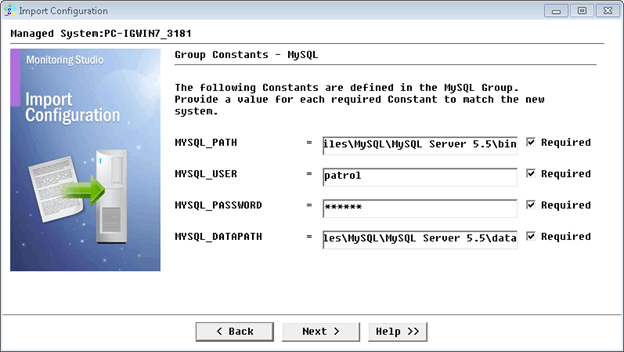
- %{MYSQL_PATH}: corresponds to the path to the MySQL application (e.g.: C:\Program Files\MySQL\MySQL Server 5.5\bin)
- %{MYSQL_USER}: corresponds to the user required to connect to MySQL
- %{MYSQL_PASSWORD}: corresponds to the password required to connect to MySQL
- %{MYSQL_DATAPATH}: corresponds to the folder where MySQL Server stores its data (e.g.: %ALLUSERSPROFILE%\MySQL\MySQL Server 5.5\data)
Note: It is important to properly set both the MYSQL_PATH and MYSQL_DATAPATH constants according to your environment. - One host requires specific information before being imported. Click [Next]
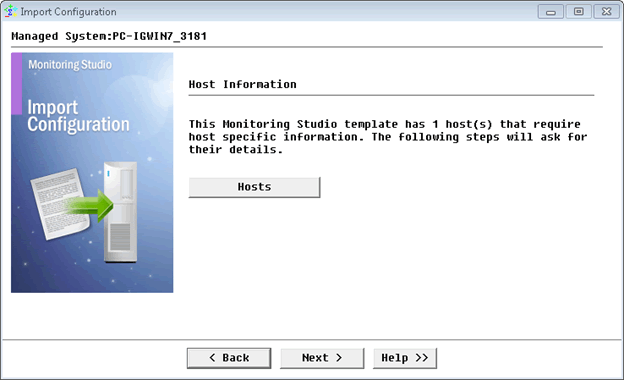
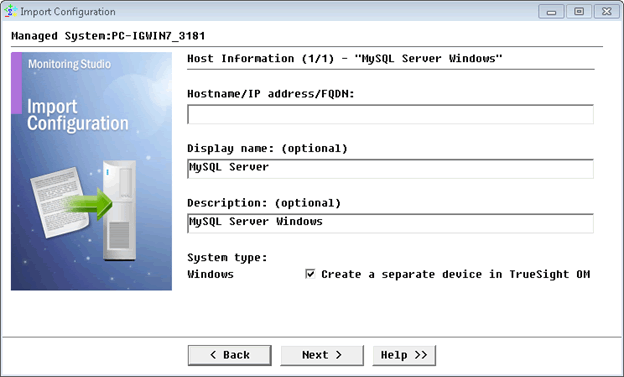
- Enter the Hostname, IP address or Fully Qualified Domain Name of the host where MySQL Server is installed.
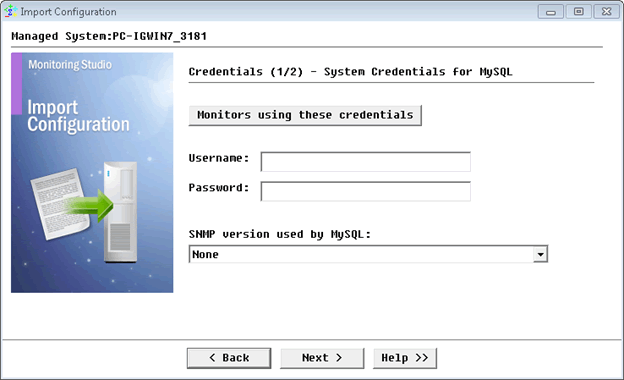
- Enter the systems credentials and click [Next]
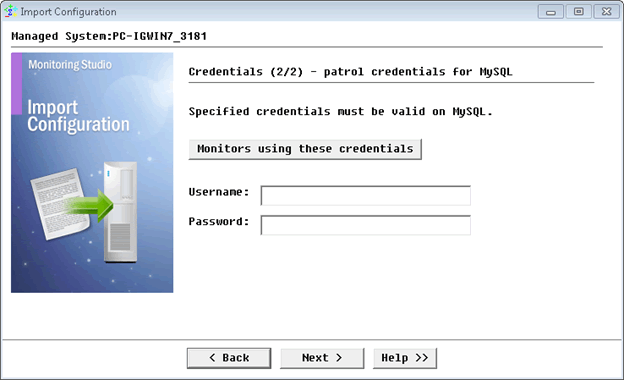
- Enter the patrol credentials and click [Next]
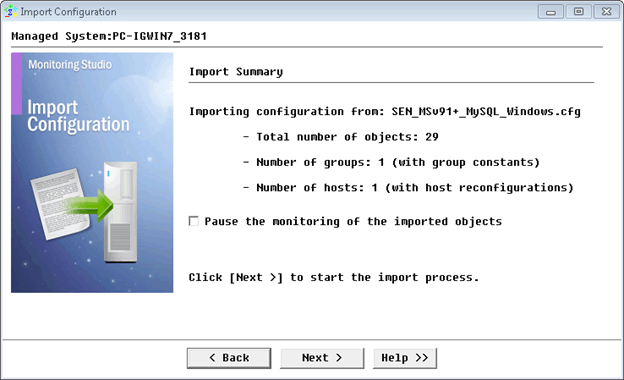
- The import summary is displayed. Click [Next]
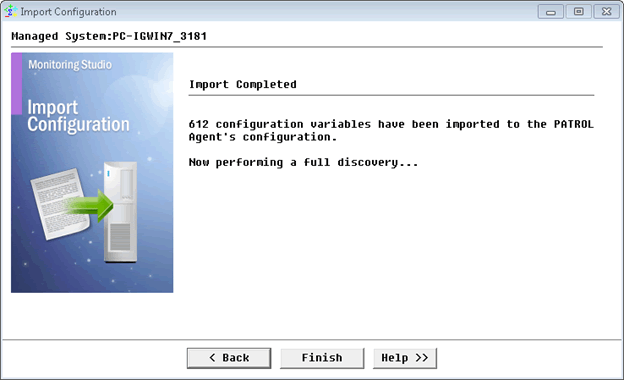
- Click [Finish] when import is complete.
Related Topics
- Monitoring SharePoint 2016 and 2019 with Monitoring Studio X
- Monitoring Proxmox Systems using Monitoring Studio KM
- Monitoring Squid Cache Proxy using Monitoring Studio KM
- Monitoring Dell EMC Avamar Appliances using Monitoring Studio KM
- Monitoring NetApp E Series Storage Devices using Monitoring Studio KM